
TL;DR:
- Following a structured workflow ensures the accuracy and reliability of at-home health test results. Proper preparation, correct sample collection, timely return, and professional interpretation are essential steps to avoid invalid results and make informed health decisions.
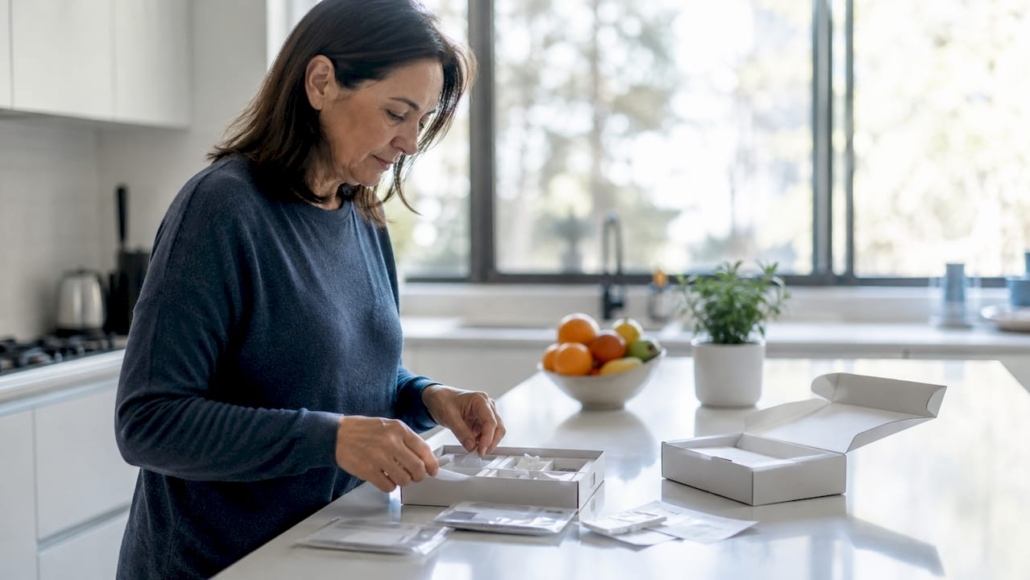
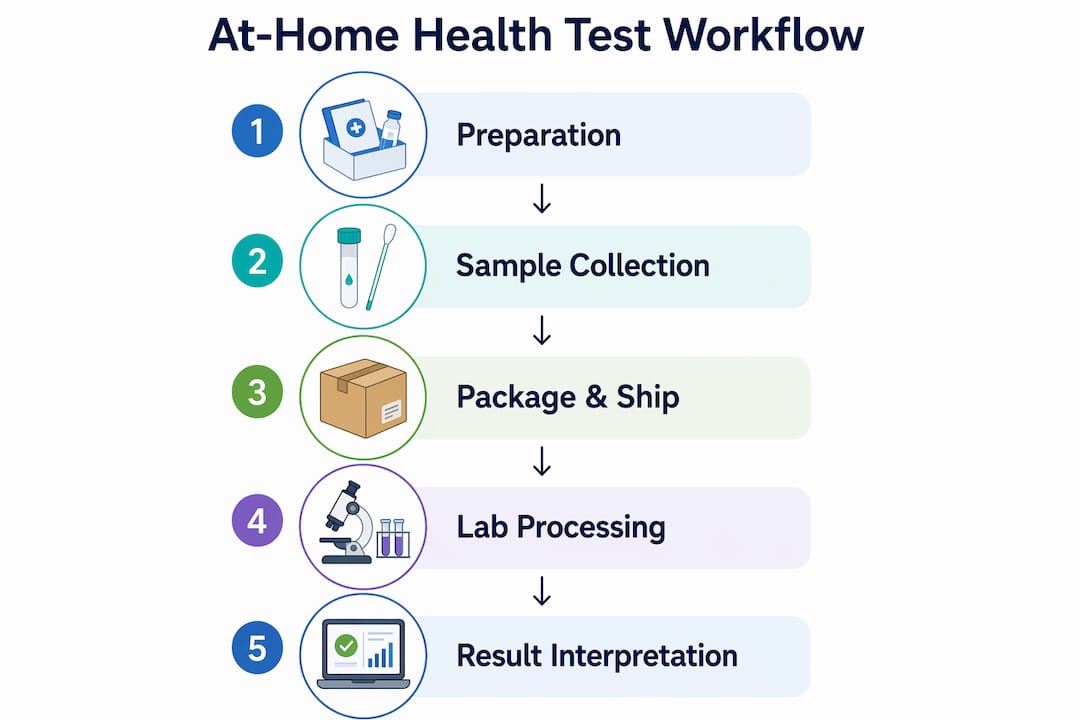
A workflow for at-home health tests is a structured, step-by-step process for collecting, packaging, submitting, and interpreting personal health samples outside a clinical setting. Following a defined sequence matters because sample quality directly determines result accuracy. UKAS-accredited laboratories apply the same equipment and rigour as hospital labs, which means the weak link is rarely the lab. It is almost always preparation or handling at home. Get those steps right, and your results carry genuine clinical weight.
What does a workflow for at-home health tests actually involve?
The at-home health testing workflow covers four distinct phases: preparation, sample collection, return logistics, and result interpretation. Each phase has specific requirements, and skipping steps in one phase creates problems in the next. The industry term for this end-to-end process is the specimen management pathway, though most kit manufacturers simply call it the testing workflow.
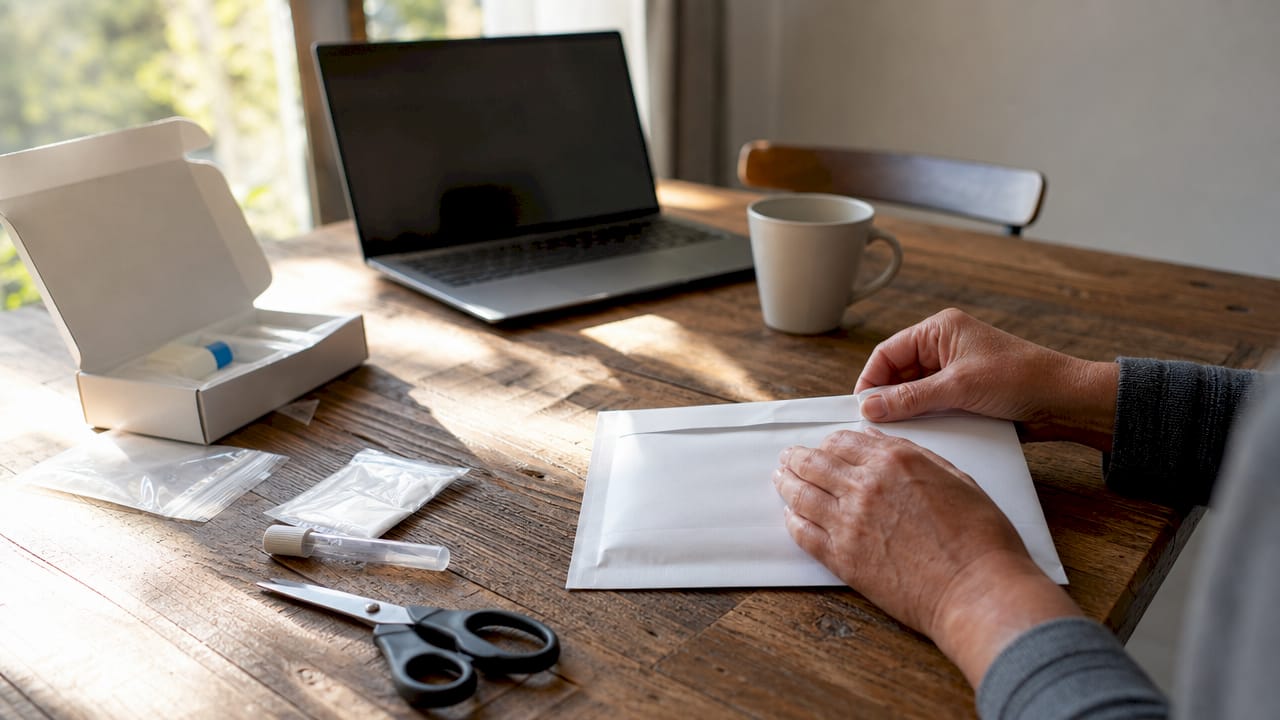
Ukfoodintolerance uses a non-invasive hair sample method, which removes many of the physical preparation demands associated with blood-based tests. That said, the broader workflow principles apply across all test types, whether you are collecting a hair sample, a finger-prick blood spot, a urine sample, or a saliva swab.
Understanding the full process before you open the kit is the single most effective way to avoid invalid results. Manufacturers include repeat-test instructions for a reason. Invalid results are a common issue, and trained support teams consistently identify sample flow failure, not user error, as the primary cause. That distinction matters: most problems are preventable with better preparation.
How should you prepare before collecting your sample?
Preparation is where most people underestimate the effort required. The steps vary by test type, so knowing what your specific kit needs before collection day saves time and prevents wasted samples.
Common preparation requirements by test type
| Test type | Fasting required | Hydration advice | Timing restriction |
|---|---|---|---|
| Finger-prick blood | 8–12 hours | Drink water; avoid alcohol 24 hours prior | Morning collection preferred |
| Urine | Varies by panel | High fluid intake | Mid-stream, first morning sample |
| Saliva / swab | No food 30 minutes prior | Normal hydration | Avoid mouthwash beforehand |
| Hair sample | None | None | Collect from root area |
Blood-based home tests require fasting 8–12 hours and avoiding diuretics such as coffee and alcohol for 24 hours. These restrictions exist because caffeine and alcohol alter blood markers, which skews reference range comparisons.
Physical readiness also affects sample volume. Warming your hands and staying well-hydrated before a finger-prick collection improves blood flow and reduces the chance of an insufficient sample. Run warm water over your hands for two minutes, then let gravity assist by keeping your hand below heart level during collection.
Pro Tip: Lay out every item from the kit the evening before. Check the expiry date on collection devices, confirm you have the return packaging, and read the instruction leaflet in full. Rushing this step on collection day is the most common cause of avoidable mistakes.
For hair sample tests such as those offered by Ukfoodintolerance, preparation is far simpler. You need scissors, the collection envelope, and a small amount of hair from close to the root. No fasting, no hydration protocol, no timing restrictions.
Step-by-step guide to collecting and packaging your sample
Accurate collection is the core of any home health testing process. The sequence below applies broadly across test types, with notes where steps differ.
- Wash your hands thoroughly. Use soap and water for at least 20 seconds. This removes surface contaminants that can interfere with swab and saliva tests.
- Prepare your collection surface. Lay a clean paper towel on a flat surface. Place your collection devices, tubes, and packaging on it without touching the collection ends.
- Follow the kit-specific collection method. For finger-prick tests, use the lancet on the side of your fingertip, not the pad. For urine, collect mid-stream into the provided container. For hair, cut a small bundle from close to the scalp, ideally from the nape of the neck.
- Fill to the correct level. Blood spot cards require filling each circle completely. Underfilling is the leading cause of insufficient sample flags. For urine, fill to the marked line only.
- Allow samples to dry if required. Blood spot cards need 30 minutes of air drying at room temperature before sealing. Do not use a hairdryer or direct sunlight, as heat degrades the sample.
- Seal and label the sample correctly. Write your name, date of birth, and collection date on the label before sealing. Mislabelled samples are rejected by laboratories as a standard safety protocol.
- Package for return. Place the sealed sample into the biohazard bag if provided, then into the return envelope. Do not fold blood spot cards.
Pro Tip: Take a photograph of your completed sample label before sealing the envelope. If a query arises with the lab, you have a clear record of what you submitted and when.
For Ukfoodintolerance hair sample kits, the collection process is condensed to three steps: cut, place in the envelope, and post. The simplicity is deliberate. Bio-resonance analysis does not require sterile handling or temperature-controlled transport, which removes the most error-prone steps from the workflow entirely.
When and how should you return your sample?
Return logistics are underestimated by most people completing a home health testing workflow. A perfectly collected sample can still produce an invalid result if it degrades in transit.
Post samples monday to thursday using tracked, high-speed mail. Samples posted on a friday risk sitting in a sorting facility over the weekend, which accelerates degradation for temperature-sensitive specimens. This single rule prevents a significant proportion of transit-related failures.
Mailing do’s and don’ts
- Do use the prepaid tracked return envelope included in your kit.
- Do post on the same day as collection for blood and urine samples.
- Do keep a photograph of your tracking number.
- Do not post on a friday or saturday.
- Do not leave samples in a hot car or direct sunlight before posting.
- Do not fold or compress the return packaging.
Lab processing takes 3–14 days depending on test complexity, with kit delivery adding 2–5 business days at the front end. That range is wide because panel complexity varies significantly. A single-marker cholesterol test processes faster than a comprehensive food sensitivity panel covering over 1,100 items. Ukfoodintolerance delivers digital reports within 48–72 hours of receiving a hair sample, which sits at the faster end of the industry range.
Compliance with return guidelines is not optional. Laboratories reject samples that arrive outside temperature parameters or in damaged packaging. Following the instructions precisely protects both your sample and your investment in the test.
How do you interpret your at-home health test results?
Results interpretation is where the workflow connects to real health decisions. Abnormal results from at-home tests are not definitive diagnoses. They are signals that warrant professional consultation, not self-treatment.
Most digital reports present results alongside reference ranges. A result flagged as high or low means it falls outside the statistically normal range for the general population. It does not automatically mean something is wrong. Age, sex, recent activity, and medication all shift where your personal normal sits.
Numerical results only become meaningful when read alongside your full health history. Share your report with a GP or registered dietitian before making significant dietary or lifestyle changes.
Integrated telemedicine platforms are increasingly used to connect at-home test results with qualified clinicians, which speeds up follow-up care. Many UK-based services now offer a GP review add-on at the point of purchase. This is worth considering if your test covers markers you are unfamiliar with.
For food intolerance reports from Ukfoodintolerance, results arrive as a clear digital breakdown of sensitivity levels across tested items. The report is designed to support an elimination diet, not replace a clinical consultation. Use it as a starting point for identifying dietary triggers, then work with a nutrition professional to confirm findings.
Pro Tip: If your result is flagged as invalid, do not assume the test failed. Manufacturers include repeat-test protocols for exactly this situation. Contact the support team before discarding the kit, as the issue is often resolvable without a full retest.
Key takeaways
A clear, phase-by-phase at-home health testing workflow, from preparation through to result interpretation, is the most reliable way to produce accurate, usable results at home.
| Point | Details |
|---|---|
| Preparation determines accuracy | Follow fasting, hydration, and timing rules specific to your test type before collecting. |
| Collection technique matters | Fill samples to the correct level, allow drying time, and label clearly before sealing. |
| Post monday to thursday | Use tracked mail and post on the same day as collection to prevent sample degradation. |
| Results need professional context | Abnormal flags are signals for consultation, not self-diagnosis or immediate dietary changes. |
| Hair sample tests simplify the process | Non-invasive collection removes the most error-prone steps from the standard workflow. |
Why preparation is the part most people get wrong
I have reviewed a lot of at-home testing workflows over the years, and the pattern is consistent. People spend time choosing the right test, then rush the preparation phase because it feels administrative. That is the wrong order of priorities.
The preparation phase is where the result is effectively won or lost. A blood spot card collected from cold, poorly hydrated hands will almost always underfill. An underfilled card produces an invalid result. The person then assumes the test is unreliable, when the test itself was never the problem.
What I find genuinely encouraging about the shift toward hair sample testing is that it removes the physical variables that trip people up most often. There is no lancet technique to master, no drying time to manage, no temperature window to hit. The benefits of at-home intolerance tests are most accessible when the collection method itself is forgiving.
My honest view is that the industry needs to do more on result literacy. Receiving a report with flagged markers and no immediate clinical support is where anxiety tends to spike. The solution is not to avoid testing. It is to go in with a clear plan for what you will do with the results before you post the sample.
— Rob
At-home food intolerance testing with Ukfoodintolerance
Ukfoodintolerance offers a straightforward route into at-home health testing for anyone managing unexplained symptoms or dietary sensitivities.
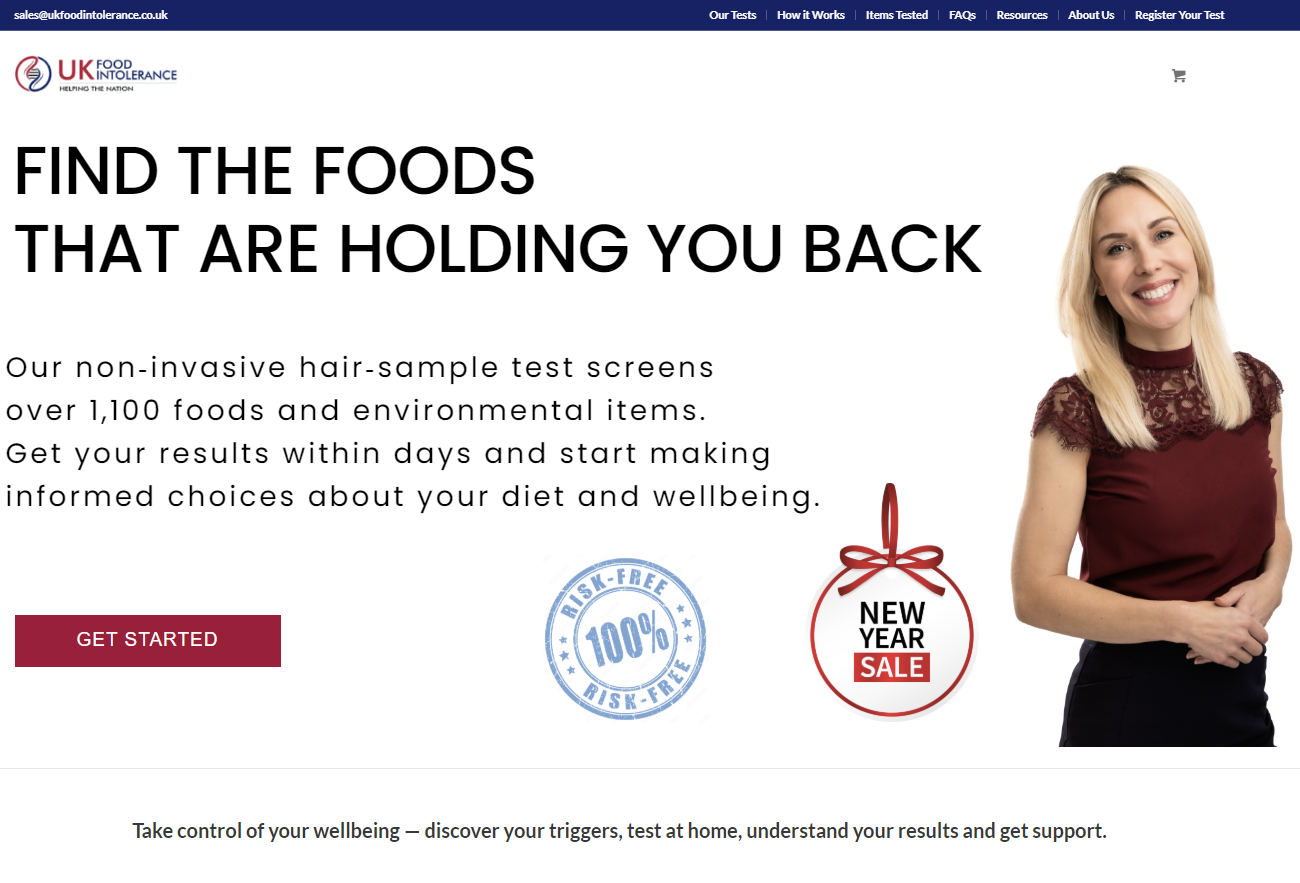
The Ultimate Single Intolerance Test covers over 1,100 food and environmental items, while the Core Single Intolerance Test covers 500 items at a lower price point. Both use non-invasive hair sample collection and return a detailed digital report within 48–72 hours of the lab receiving your sample. The process requires no fasting, no blood, and no clinic visit. If you are ready to understand what may be affecting your wellbeing, the full test range gives you a clear starting point.
FAQ
What is the correct workflow for at-home health tests?
The standard at-home health testing workflow covers four phases: preparation, sample collection, return logistics, and result interpretation. Following each phase in sequence protects sample quality and result accuracy.
How long does it take to get results from an at-home test?
Lab processing takes 3–14 days depending on test complexity. Ukfoodintolerance delivers digital reports within 48–72 hours of receiving a hair sample.
Do I need to fast before an at-home health test?
Blood-based home tests typically require fasting for 8–12 hours and avoiding diuretics for 24 hours. Hair sample tests, such as those from Ukfoodintolerance, require no fasting at all.
What should I do if my at-home test result is invalid?
Contact the kit manufacturer’s support team before discarding anything. Invalid results are often caused by sample flow failure rather than user error, and most manufacturers provide a repeat-test protocol.
Are at-home test results the same as a GP diagnosis?
No. Abnormal results from at-home tests indicate a need for professional consultation, not a confirmed diagnosis. Share your report with a GP or registered dietitian before making health decisions.






Leave a Reply
Want to join the discussion?Feel free to contribute!