

Struggling with unexplained digestive discomfort can make daily life in the United Kingdom frustrating and unpredictable. Finding clear answers about potential food sensitivities is often easier said than done, especially for British adults who prefer gentle, non-invasive solutions. This guide walks you through each step of an at-home intolerance test, highlighting how a clean, organised workspace and precise sample handling lead to more trustworthy results, so you can finally uncover the foods affecting your wellbeing.
Table of Contents
- Step 1: Set Up Your Testing Area Safely
- Step 2: Follow Guidance to Collect A Hair Sample
- Step 3: Package And Submit Your Sample Correctly
- Step 4: Verify Your Submission And Track Progress
- Step 5: Review Your Detailed Report And Next Steps
Quick Summary
| Key Point | Explanation |
|---|---|
| 1. Prepare a clean testing area | A well-organised workspace reduces contamination risk, ensuring accurate sample results. Remove potential interferences like perfumes and cleaning products. |
| 2. Collect the hair sample correctly | Follow the specific instructions to cut hair close to the scalp for precise test results and avoid washing or styling products beforehand. |
| 3. Package and submit your sample accurately | Ensure the hair sample is dry, labelled correctly, and enclosed in the provided materials to maintain quality during transit. |
| 4. Track your sample submission | Use your unique tracking number to monitor your sample’s progress, ensuring timely access to your test results. |
| 5. Review results for dietary changes | Understand the sensitivity levels from your results to make informed dietary adjustments, considering consulting a nutritionist for a personalised plan. |
Step 1: Set up your testing area safely
Preparing the right environment for your home intolerance test is crucial to ensuring accurate results. You’ll want a clean, organised workspace that minimises potential contamination and helps you follow the testing process precisely.
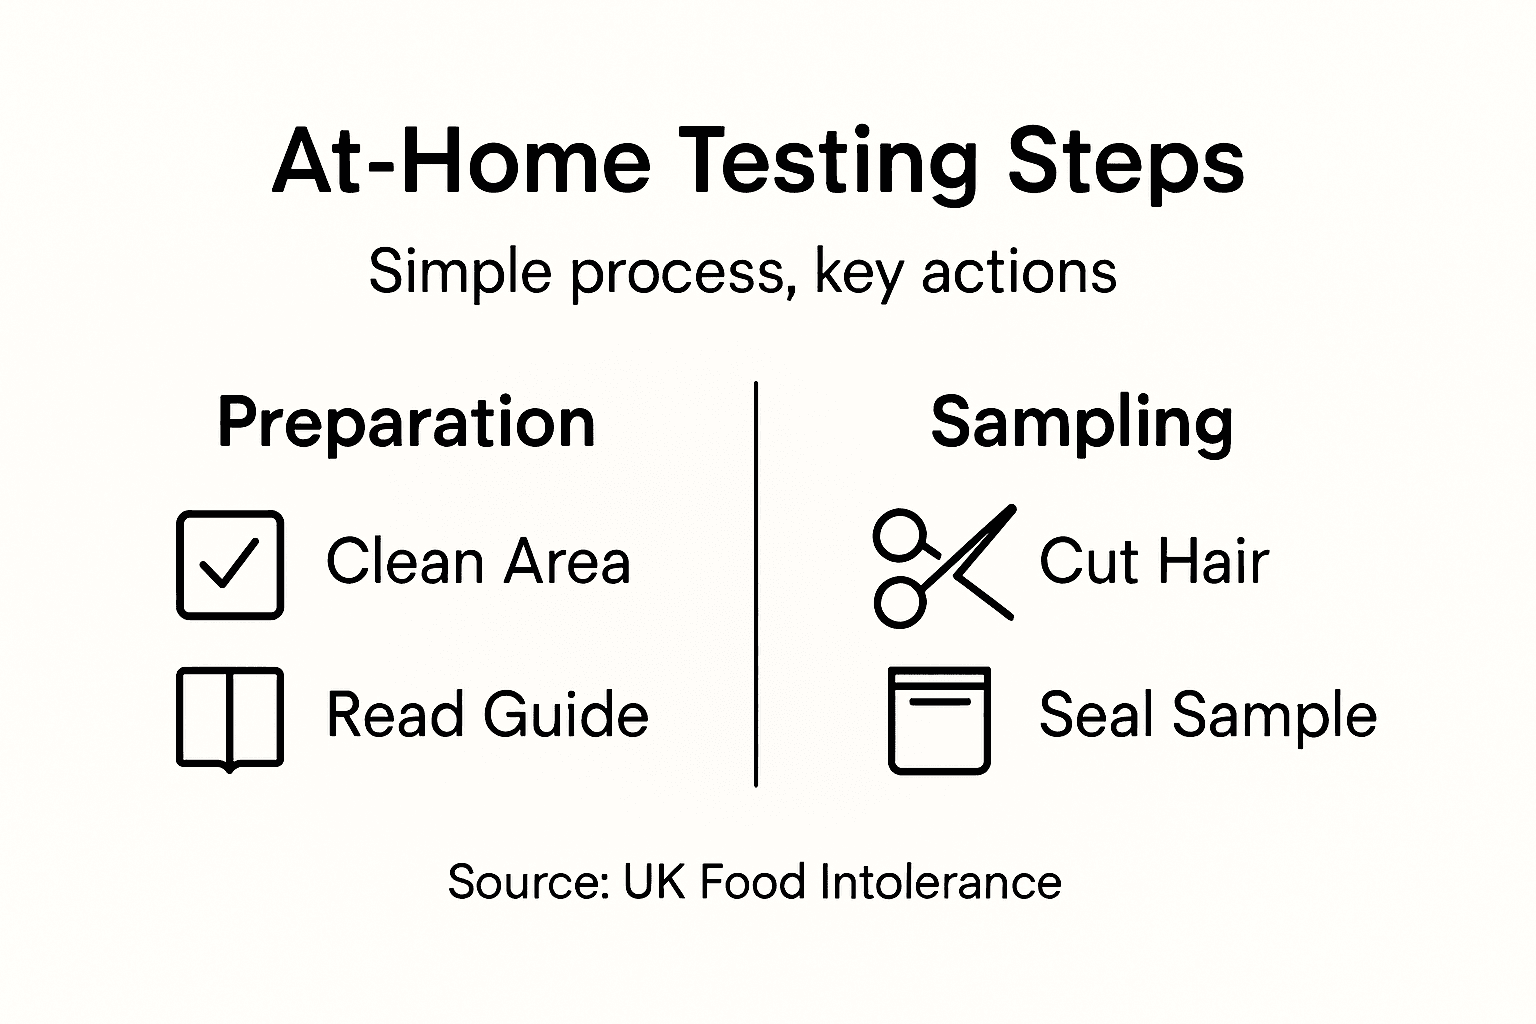
Start by selecting a clean, well-lit surface with plenty of room to lay out your testing materials. Ideally, choose a kitchen counter or a dedicated table away from food preparation areas. Wash your hands thoroughly with soap and warm water, and consider using disposable gloves to handle the testing kit.
Ensure you have all necessary components ready before beginning:
- Testing kit
- Hair sample collection envelope
- Provided instructions
- Clean scissors (if required)
- Envelope for returning samples
- Pen or marker for labelling
A clean, organised workspace reduces the risk of sample contamination and helps ensure the most accurate test results.
Keep your testing area free from potential sources of interference like strong perfumes, cleaning products, or other substances that might affect your hair sample. If you’re using the UK Food Intolerance test, follow their specific guidelines for sample collection carefully.
Here’s a quick comparison of common sample contamination risks and how to minimise them:
| Contamination Risk | Potential Impact on Test | Prevention Method |
|---|---|---|
| Food residue | False positive results | Clean workspace, wash hands |
| Cosmetic products | Unreliable readings | Avoid hair styling products |
| Chemical cleaners | Sample distortion | Remove cleaning supplies nearby |
| Cross-contact with other samples | Data confusion | Prepare only one sample at a time |
Pro tip: Lay out a clean white towel or paper surface to create a dedicated testing zone and prevent accidental cross-contamination.
Step 2: Follow guidance to collect a hair sample
Collecting a hair sample for your intolerance test requires precision and careful attention to detail. Your goal is to obtain a representative sample that will provide accurate insights into potential food sensitivities.

Begin by carefully reading the specific instructions included in your testing kit. Different testing services may have slightly varied requirements for sample collection. For the UK Food Intolerance test, you’ll typically need to collect hair from the root area using clean scissors.
Here are the key steps for collecting your hair sample:
- Select a clean, quiet area with good lighting
- Use clean, sharp scissors specifically for this purpose
- Choose hair from the back of your head, close to the scalp
- Cut small sections approximately 1-2 centimetres from the root
- Collect enough hair to fill the designated collection envelope
Precision in hair sample collection is crucial for obtaining the most accurate test results.
Avoid washing your hair immediately before collecting the sample, and ensure your hair is free from styling products. Handle the hair sample with clean hands or wear disposable gloves to prevent contamination.
Pro tip: Use a white sheet of paper underneath while cutting to easily see and collect your hair sample.
Step 3: Package and submit your sample correctly
Preparing and sending your hair sample requires careful attention to detail to ensure accurate processing and reliable results. Your primary goal is to protect the sample and provide clear identification for the laboratory analysis.
Carefully review the sample submission guidelines to ensure you follow every specific instruction. Each testing kit typically includes a unique identification number and specific packaging materials designed to preserve sample integrity during transit.
Follow these essential steps for packaging:
- Check that your hair sample is completely dry
- Place the sample in the provided sealed envelope
- Attach the unique identification label correctly
- Complete any required registration or documentation
- Seal the return envelope securely
Precise packaging and accurate labelling are crucial for maintaining sample quality and ensuring prompt laboratory processing.
Ensure you use the prepaid return packaging included with your kit. Double-check that all sections of the form are completed accurately, including your personal details and contact information. Avoid folding or creasing the sample envelope excessively.
Pro tip: Take a quick photo of your completed documentation as a backup in case of any unexpected issues during transit.
Step 4: Verify your submission and track progress
After sending your sample, the next crucial phase is confirming your submission and monitoring your test’s progress. This step ensures you remain informed about your intolerance test’s journey through the laboratory analysis process.
For the UK Food Intolerance test, you’ll typically need to activate your unique tracking identification number. Most testing services provide multiple ways to track your sample’s status:
- Online tracking portal
- Email notifications
- Customer support telephone line
- Mobile app status updates
Proactive tracking helps you stay connected and informed throughout the testing process.
Ensure you have saved or memorised your unique sample reference number. This code is essential for accessing your results and communicating with the laboratory. Check your email regularly for updates, and keep an eye on any digital platforms associated with your specific testing kit.
Typical processing times range between 48-72 hours, but this can vary depending on laboratory workload. If you haven’t received an update within the expected timeframe, don’t hesitate to contact the testing service’s customer support team.
Pro tip: Set a digital reminder on your phone for when you expect to receive results to ensure you don’t miss the notification.
Step 5: Review your detailed report and next steps
Receiving your intolerance test results is an exciting moment that provides valuable insights into your body’s potential sensitivities. Understanding and interpreting these results correctly will help you make informed decisions about your dietary and lifestyle choices.
For the UK Food Intolerance test, your detailed report will typically include:
- Comprehensive list of identified food sensitivities
- Severity rating for each identified intolerance
- Recommended dietary modifications
- Potential health impact of each sensitivity
- Nutritional guidance and alternative food suggestions
Your test results are a powerful tool for understanding your body’s unique nutritional needs and potential inflammatory triggers.
Categorise your identified intolerances into high, medium, and low sensitivity levels. This helps you prioritise which foods to eliminate or reduce in your diet. Consider consulting a nutritionist or dietitian who can help you develop a personalised nutrition plan based on your specific test results.
This table summarises typical result categories and their dietary implications:
| Sensitivity Level | Dietary Action | Potential Benefit |
|---|---|---|
| High | Eliminate food completely | Reduce severe symptoms |
| Medium | Limit intake, trial elimination | Improve digestion, less flare-ups |
| Low | Monitor, occasional restriction | Support overall wellbeing |
Remember that food intolerance test results are guidance, not a definitive medical diagnosis. Use these insights as a starting point for improving your overall health and wellbeing, and always discuss significant dietary changes with a healthcare professional.
Pro tip: Create a digital or physical folder to store your test results for easy future reference and tracking of your health journey.
Take Control of Your Digestive Health with Easy At-Home Testing
Preparing for intolerance testing at home can feel overwhelming due to concerns about accuracy, contamination risks, and correctly handling your sample. This article highlights how creating a clean and organised testing area, following detailed sample collection steps, and tracking your results can lead to reliable insights into your body’s unique sensitivities. If unexplained symptoms or digestive discomfort are affecting your wellbeing, understanding these intolerances is key to making informed dietary choices and improving your health.
Discover how the UK Food Intolerance service simplifies this journey for you with expert guidance and easy-to-use hair sample tests processed swiftly in UK laboratories. Choose from our comprehensive Digestive Health Archives – UK Food Intolerance collection of resources and tests designed to identify over 1,100 items or opt for our affordable core testing options. Start your path to better health today by visiting UK Food Intolerance to order your test, follow our clear instructions, and receive detailed digital reports within 72 hours. Take the first step towards understanding your body’s needs and regain control of your wellbeing now.
Frequently Asked Questions
How do I set up my testing area for home intolerance testing?
To set up your testing area safely, choose a clean and well-lit surface away from food preparation areas. Ensure you have all your testing materials ready, and thoroughly wash your hands before starting the process.
What are the specific steps to collect a hair sample for my intolerance test?
Collecting a hair sample involves cutting hair from the root area, using clean scissors. Follow the instructions carefully, ensuring you choose hair close to the scalp and collect enough to fill the provided envelope.
How should I package and submit my hair sample for analysis?
Package your hair sample by placing it in the designated sealed envelope and attaching the unique identification label. Ensure the envelope is securely sealed, and use the prepaid return packaging included with your kit for submission.
How can I verify that my hair sample was submitted correctly?
You can verify your submission by activating your unique tracking identification number. Use the provided tracking methods, such as online portals or email notifications, to monitor your sample’s progress and stay informed about its status.
What information will I receive in my intolerance test results report?
Your intolerance test results report will include a comprehensive list of identified food sensitivities, severity ratings for each intolerance, and recommendations for dietary modifications. Review these results to understand potential health impacts and necessary dietary changes.
How should I interpret my intolerance test results?
Interpret your results by categorising sensitivities into high, medium, and low levels, which will help you prioritise dietary changes. Consider consulting a nutritionist for further guidance on developing a tailored nutrition plan based on your results.








Leave a Reply
Want to join the discussion?Feel free to contribute!