

For many British adults, unexplained digestive discomfort disrupts daily life and leaves wellbeing at risk. Experts estimate that over 45 percent of people in the United Kingdom report ongoing stomach issues without a clear cause. Affordable at-home food intolerance tests offer a practical way to pinpoint sensitivities and guide smarter diet choices. Discover what you need to know to prepare, collect, and interpret your test for meaningful improvements in health and energy.
Table of Contents
- Step 1: Prepare For Your At-Home Sensitivity Test
- Step 2: Collect And Package Your Hair Sample
- Step 3: Submit Your Sample To The Laboratory
- Step 4: Interpret Your Results For Actionable Changes
- Step 5: Monitor Your Wellbeing After Implementing Changes
Quick Summary
| Main Insight | Explanation |
|---|---|
| 1. Follow Instructions Carefully | Adhere to all guidelines in your testing kit to ensure accurate results by collecting an appropriate hair sample. |
| 2. Avoid Interference Factors | Steer clear of medications, dietary changes, and environmental exposures that could distort test results prior to collection. |
| 3. Package Sample Properly | Ensure your collected hair sample is clean, sealed, and labelled correctly to maintain its integrity during shipping. |
| 4. Submit Promptly | Send your sample within 24 hours after collection, following the specific submission instructions provided. |
| 5. Track Wellbeing Post-Changes | Monitor your health and symptoms closely after dietary adjustments to identify improvements or areas needing attention. |
Step 1: Prepare for your at-home sensitivity test
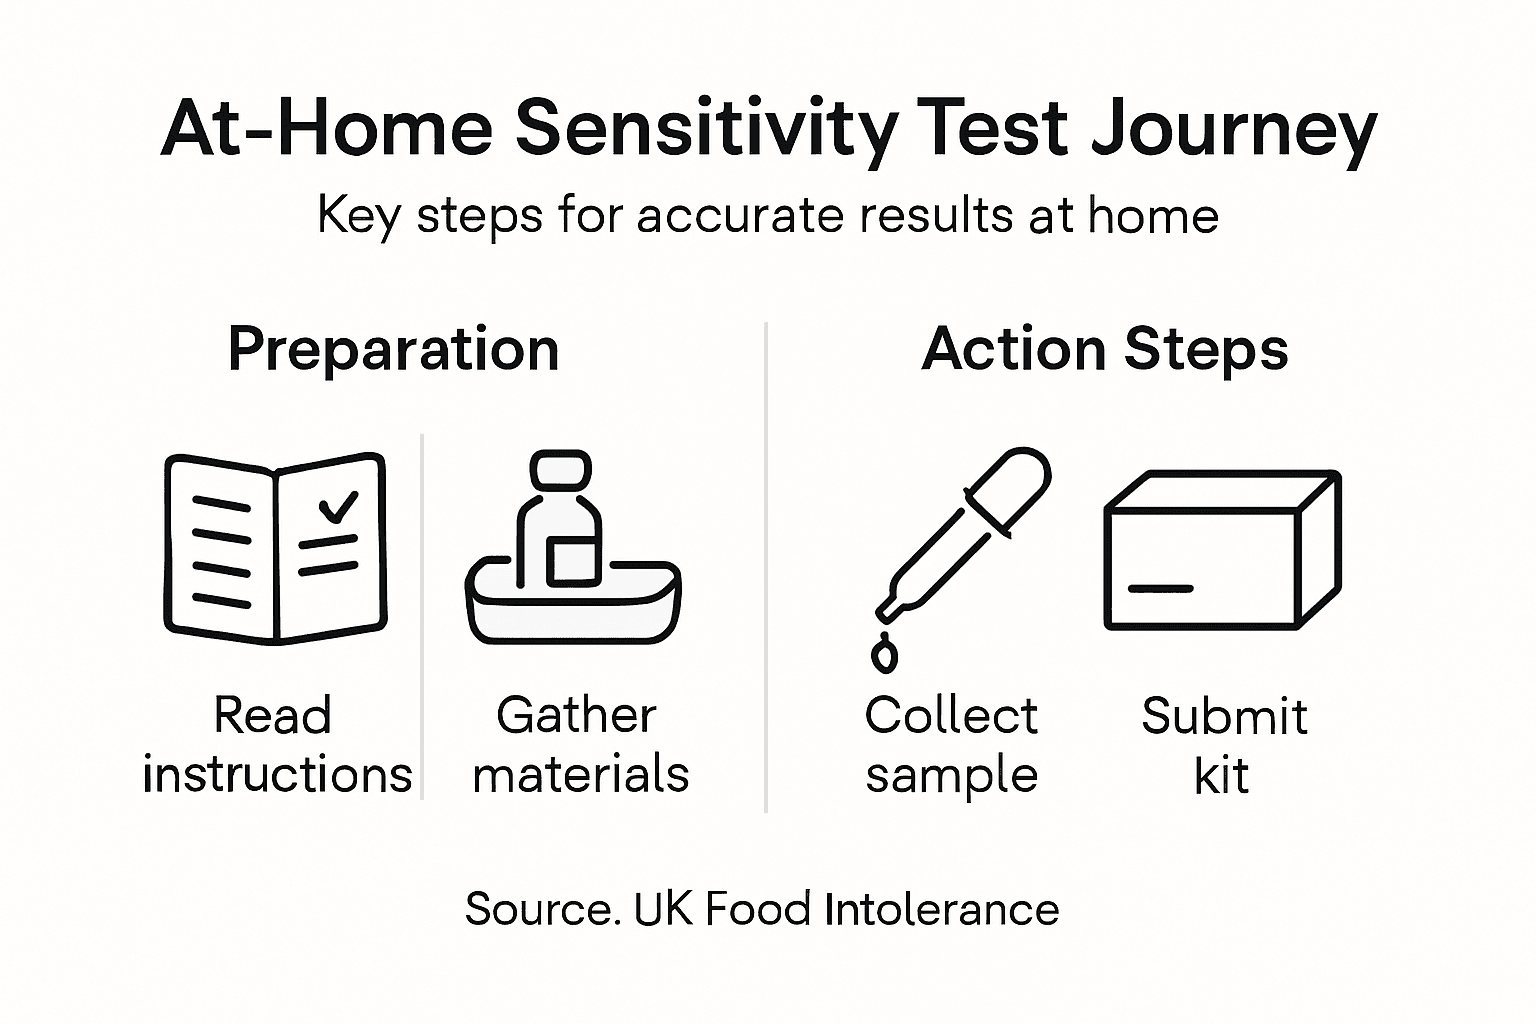
Preparing for an at-home sensitivity test involves gathering the right materials and understanding the essential steps to ensure accurate results. Your preparation will help you navigate the testing process smoothly and obtain meaningful insights into your body’s specific sensitivities.
First, carefully read through all instructions provided with your testing kit. This typically involves collecting a small hair sample, which requires precision and attention to detail. Different testing services have varying requirements, so following the specific guidelines is crucial. Some tests might require you to complete a preliminary sensitivity questionnaire that helps contextualise your test results.
Before collecting your sample, review any preparatory recommendations. These might include avoiding certain foods, medications, or environmental factors that could potentially interfere with test accuracy. Some providers suggest maintaining a regular diet and routine in the days leading up to your test to ensure the most representative results. Ensure you have clean hands and a well-lit area for sample collection, and follow the kit’s specific instructions regarding hair length, collection method, and sample size.
Top tip: Keep your testing kit in a cool, dry location and check the expiration date to guarantee the most reliable testing experience.
Here is a quick reference for common factors that can affect sensitivity test accuracy:
| Factor | Potential Impact | How to Mitigate |
|---|---|---|
| Recent medication use | May distort results | Avoid for 48 hours |
| Diet changes | Unrepresentative sample | Maintain routine diet |
| Environmental exposure | Possible contamination | Use clean collection |
| Improper sample size | Inconclusive findings | Follow kit guidelines |
Step 2: Collect and package your hair sample
Collecting and packaging your hair sample correctly is crucial for obtaining accurate and reliable sensitivity test results. This step requires careful attention to detail and adherence to specific guidelines to ensure your sample remains uncontaminated and suitable for laboratory analysis.
Begin by thoroughly washing your hands to prevent potential contamination. Select a clean, well-lit area with good visibility and gather the necessary collection materials from your testing kit. When collecting the hair sample, follow the specific instructions provided with your test. Most kits require approximately 20-50 hair strands, typically taken from the root area. Use clean scissors or the provided sampling tool to cut hair close to the scalp, ensuring you maintain proper sample handling techniques.

After collecting the hair sample, place it carefully into the designated collection envelope or container. Ensure the container is sealed securely and label it with the required information such as your full name, date of collection, and any other identifying details specified by the testing service. If multiple sample envelopes are provided, double-check you are using the correct one for your specific test. Store the packaged sample according to the kit’s instructions, typically in a cool, dry place away from direct sunlight until you are ready to dispatch it to the laboratory.
Top tip: Always keep your hair sample away from moisture and extreme temperatures to preserve its integrity during transportation.
Step 3: Submit your sample to the laboratory
Submitting your sensitivity test sample to the laboratory is the crucial final stage that determines the accuracy and reliability of your test results. This step requires careful attention to ensure your sample reaches the testing facility in optimal condition for precise analysis.
First, review the specific submission instructions provided with your testing kit. Most laboratories require samples to be transported securely within a specific timeframe after collection. Typically, this means sending your sample on the same day or within 24 hours of collection. Check the kit for the preferred submission method such as prepaid return envelope, designated dropbox, or direct postal delivery. Ensure all accompanying paperwork is completed accurately with your personal details and any required medical information.
Before dispatching, double-check that your sample is properly sealed in its original container and placed inside the provided protective packaging. If no specific temperature instructions are given, maintain the sample at ambient room temperature. Some testing services offer online tracking or registration, so you might want to log your sample submission through their website or customer portal. This helps you monitor the progress of your test and provides an additional layer of reassurance about your sample’s journey to the laboratory.
Top tip: Photograph your completed submission package and tracking information as a personal record in case any queries arise during processing.
Step 4: Interpret your results for actionable changes
Interpreting your sensitivity test results is a critical step in transforming scientific data into meaningful lifestyle improvements. Your test results provide a roadmap for understanding how specific foods or environmental factors might be impacting your overall wellbeing and health.
Begin by carefully reviewing the detailed report, paying close attention to how to read laboratory test results. Most sensitivity reports categorise reactions into different levels such as mild, moderate, and severe intolerances. Look for specific food groups or items that show higher sensitivity levels. These are the areas where you might consider making dietary adjustments or eliminations. Remember that not all detected sensitivities necessarily mean you must completely remove those items from your diet immediate consultation with a nutritionist or healthcare professional can provide personalised guidance.
To create an effective action plan, prioritise the most significant sensitivities identified in your report. Consider gradually eliminating high-reaction foods while monitoring your symptoms and overall health. Keep a detailed food diary to track any changes in your wellbeing after making dietary modifications. Some individuals find it helpful to introduce eliminated foods back into their diet slowly and systematically under professional guidance, allowing for a comprehensive understanding of their body’s unique responses.
Top tip: Create a spreadsheet tracking your dietary changes, symptoms, and energy levels to help identify patterns and improvements over time.
Step 5: Monitor your wellbeing after implementing changes
Monitoring your wellbeing after dietary modifications is a crucial process of understanding how your body responds to the changes you have implemented. This step requires careful observation and a systematic approach to tracking your physical and mental health progression.
Begin by establishing consistent health tracking methods that allow you to document your symptoms, energy levels, and overall sense of wellness. Create a weekly journal or digital log where you can record specific details such as sleep quality, digestive comfort, mood fluctuations, and any noticeable changes in your physical or mental state. Pay attention to both positive improvements and potential challenges that might emerge during this transition period. Some individuals find it helpful to use smartphone apps or spreadsheets to maintain structured and comprehensive records.
As you continue monitoring, look for patterns and trends in your wellbeing. Consider scheduling periodic check-ins with a healthcare professional who can provide objective insights and help you interpret the data you have collected. Your goal is not just to eliminate problematic foods but to develop a deeper understanding of how specific dietary adjustments impact your overall health. Be patient with yourself and remember that wellness is a dynamic, ongoing journey of discovery and adaptation.
Top tip: Set specific, measurable wellness goals that go beyond dietary changes to create a holistic approach to your health tracking.
Below is a summary of health tracking methods for monitoring post-test wellbeing:
| Method | What It Records | Recommended Tool |
|---|---|---|
| Food diary | Dietary intake, meals | Spreadsheet or app |
| Symptom log | Physical/mental changes | Notebook or digital log |
| Weekly review | Trends, improvements | Calendar reminders |
| Professional check-in | Objective feedback | Scheduled appointments |
Take Control of Your Wellbeing with Expert At-Home Sensitivity Testing
If you are navigating the complexities of unexplained symptoms and seeking to identify hidden food and environmental triggers, the detailed process outlined in this guide is your first step. Understanding how to prepare, collect, submit, and interpret your at-home sensitivity test results is challenging but essential for effective health improvements. Our solutions at UK Food Intolerance are designed to empower you, offering fast, reliable bio-resonance testing that identifies over 1,100 potential sensitivities or a more affordable option testing 500 items to meet your needs.
Discover how easy it is to take control of your health by visiting UK Food Intolerance. Explore our comprehensive insights on managing digestive discomfort via our Digestive Health Archives – UK Food Intolerance and learn more about specific intolerances such as eggs through our detailed resource Egg Intolerance 6 Symptoms, Allergy Difference & How to Test. Act now for prompt digital results delivered within 72 hours and start your personalised journey towards improved wellbeing today.
Frequently Asked Questions
What materials do I need to prepare for an at-home sensitivity test?
You will need the testing kit provided by the service, which typically includes a collection envelope and instructions. Gather clean scissors or the provided sampling tool and ensure you have a well-lit area for collecting your hair sample.
How do I collect and package my hair sample correctly?
To collect your hair sample, cut approximately 20-50 strands close to the scalp using clean scissors. Carefully place the hair into the designated envelope, seal it securely, and label it with your personal details as instructed in the kit.
What should I consider before submitting my sample to the laboratory?
Before submitting, ensure your sample is securely packaged and that all required paperwork is filled out accurately. Ideally, dispatch your sample on the same day or within 24 hours of collection to maintain its integrity during transport.
How can I effectively interpret my sensitivity test results?
Begin by reviewing the report for any foods or items indicated as highly sensitive. Create an action plan prioritising these foods for elimination or adjustment, and consult a healthcare professional for personalised advice on making dietary changes.
How do I monitor my wellbeing after making dietary changes?
Establish consistent health tracking methods to document your symptoms, energy levels, and overall wellness. Maintain a weekly journal or digital log to record specific changes, aiming to identify patterns over time and adjust your dietary plan accordingly.
What steps should I take if I notice a negative reaction after changing my diet?
If you experience adverse reactions, reassess the foods you have eliminated or introduced and consider re-introducing items one at a time. Consult a healthcare professional to review your symptoms and receive tailored guidance on adjusting your diet for better wellbeing.










Leave a Reply
Want to join the discussion?Feel free to contribute!