
TL;DR:
- Following a structured workflow ensures at-home food sensitivity testing yields accurate results by minimizing user errors. Proper preparation, precise sample collection from the root area, and timely, tracked posting are essential steps before interpreting digital reports to guide dietary decisions. Respecting each stage of the process helps you obtain reliable insights while reducing the risk of invalid results or unnecessary anxiety.
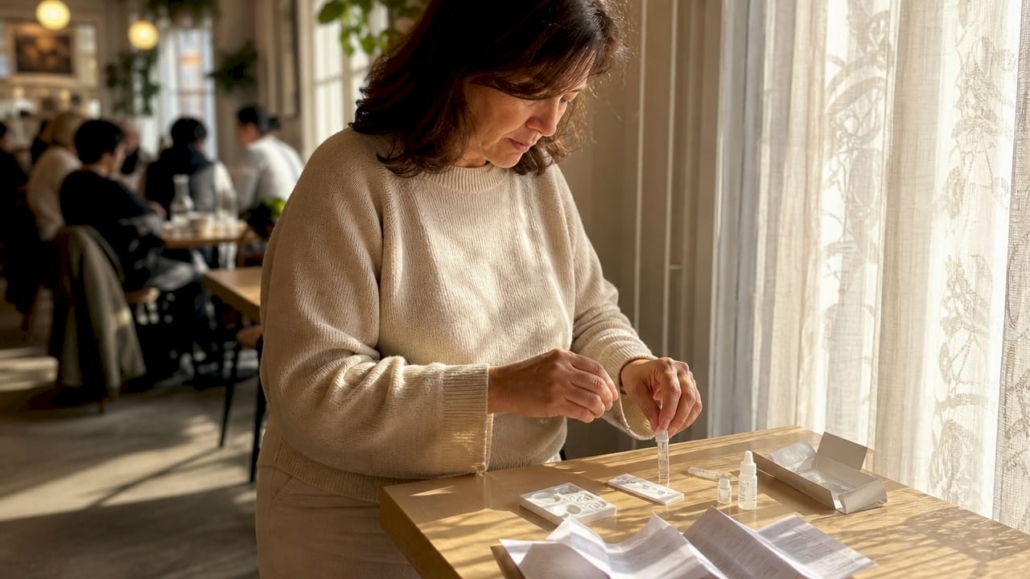
A structured workflow for at-home testing is defined as the ordered sequence of steps you follow from kit preparation through to receiving and acting on your results. For food sensitivity testing, this process typically involves collecting a biological sample at home, sending it to an accredited laboratory, and interpreting a digital report. Getting each stage right matters because user error is the primary cause of invalid or inaccurate results, not the technology itself. Ukfoodintolerance guides you through every stage so you can get reliable answers about your body without leaving home.
What is the workflow for at-home testing?
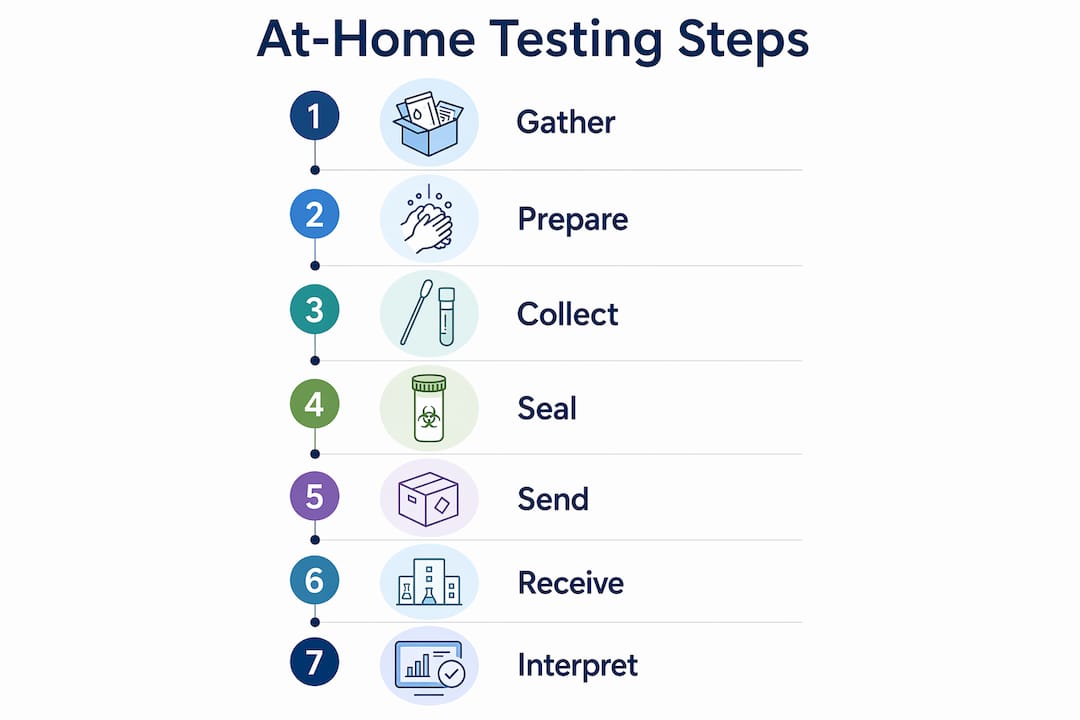
The at-home test procedures used for food sensitivity testing follow a recognised structure in clinical diagnostics: prepare, collect, send, receive, and act. This DIY testing workflow is not a loose set of suggestions. Regulations require home-use diagnostic kits to provide comprehensive, pictorial, step-by-step instructions, validated with at least 15 lay users per group to confirm that real people can use them safely and accurately. That standard exists because the gap between a reliable result and an invalid one almost always comes down to how carefully you follow the process.
Ukfoodintolerance uses bioresonance technology, which analyses a hair sample rather than requiring a blood draw or swab. Bioresonance works by measuring the energetic frequencies associated with different foods and environmental items, then identifying which ones your body may be reacting to. The process is non-invasive, which removes several of the preparation barriers that come with blood-based tests. Understanding the full home testing process before you open the kit is the single most effective thing you can do to protect your results.
What do you need before starting at-home testing?
Good preparation is what separates a valid result from a wasted kit. Before you begin any at-home test procedures, gather everything you need and read the instructions from start to finish. This takes five minutes and prevents the most common errors.
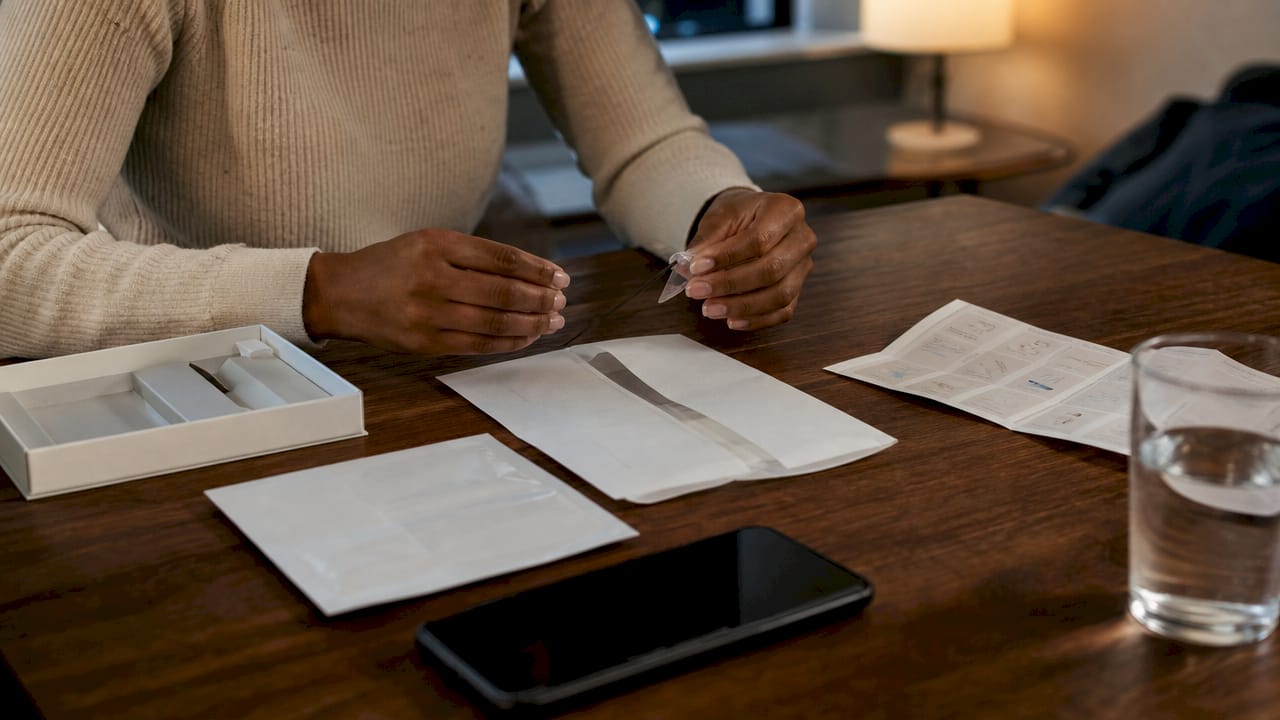
Kit components and what they do
| Component | Purpose | Preparation needed |
|---|---|---|
| Hair collection envelope | Holds your sample for lab analysis | Clean, dry hair only |
| Sample collection tool | Cuts or collects the required sample | No product residue on hair |
| Instruction leaflet | Step-by-step pictorial guide | Read fully before starting |
| Return packaging | Protects sample in transit | Seal securely before posting |
| Result access details | Login or reference for digital portal | Keep safe after posting |
For blood-based kits used by other providers, warming your hands and staying hydrated before a finger-prick test significantly reduces the chance of collecting an insufficient sample. With hair-based tests like those from Ukfoodintolerance, the preparation is simpler: your hair should be clean, free from heavy styling products, and collected from the root area for the strongest signal.
- Read the full instruction leaflet before touching any kit components
- Choose a clean, well-lit workspace with a flat surface
- Avoid collecting hair immediately after applying dry shampoo or heavy conditioner
- Check the return packaging is intact and the prepaid label is included
- Note the kit reference number before you post anything
Pro Tip: Take a photo of your completed sample envelope before sealing it. If anything goes wrong in transit, you have a record that the sample was correctly prepared.
How do you collect your sample correctly?
The steps for home testing with a hair-based kit are straightforward, but the sequence matters. Skipping or rushing any step is where most errors occur. Follow this numbered process exactly as described in your kit instructions.
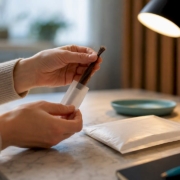
- Lay out all components on a clean, flat surface. Confirm every item listed in the instructions is present before you begin.
- Read the pictorial guide in full. Home-use IVD labelling is required to include visual instructions at a plain-language reading level, so the diagrams are there to help you. Use them.
- Collect the hair sample from the root area, as directed. For Ukfoodintolerance kits, you need a small number of strands with the root bulb intact. The root contains the biological information the lab analyses.
- Place the sample into the designated envelope or collection area. Do not touch the root end with your fingers more than necessary.
- Seal the sample according to the instructions. For hair-based tests, this typically means placing strands into a labelled envelope and sealing it firmly.
- Complete any required details on the packaging, such as your name, date of birth, or kit reference number. Missing information is one of the most common reasons labs cannot process a sample.
- Place the sealed sample into the return packaging provided. Do not use your own envelope or bag.
- Attach the prepaid return label if it is not already printed on the packaging. Confirm the address is correct before sealing.
For blood-based kits, the collection process differs. You would use a lancet to produce a small blood drop from a warmed fingertip, then transfer it to a collection card. The principle is the same: follow each step in order, do not skip ahead, and do not attempt to collect more sample than instructed if the first attempt is insufficient. Use a fresh device instead.
Pro Tip: Collect your sample in the morning before washing your hair that day. Hair is cleanest and most product-free at this point, which gives the lab the clearest possible sample to work with.
You can find a detailed visual walkthrough in the Ukfoodintolerance allergy testing step-by-step guide, which covers the process from unboxing to posting.
How do you send your sample and when will results arrive?
Once your sample is sealed and labelled, timing your post matters more than most people realise. Posting samples early in the week using a tracked 24-hour service prevents sample degradation and avoids weekend delays at sorting offices. Posting on a Thursday or Friday risks your sample sitting in a depot over the weekend, which can affect its integrity.
Follow these posting guidelines to protect your sample:
- Post Monday to Wednesday wherever possible
- Use a tracked service, not standard second-class post
- Avoid posting near bank holidays or peak postal periods such as December
- Keep your tracking number until you receive confirmation the lab has received your sample
- Do not leave your sealed sample sitting at home for more than 24 hours after collection
Most laboratory-based at-home test results are delivered digitally within 3 to 5 business days of the lab receiving your sample, with fast-track services returning results within 48 to 72 hours. Ukfoodintolerance operates within this window, delivering your report to a secure digital portal. This means you do not wait for a letter in the post. You receive a detailed breakdown of your sensitivities, organised clearly so you can act on the findings straight away.
How do you interpret your at-home test results?
Receiving your results is not the end of the process. It is the point where the home testing process becomes genuinely useful. Your report will show which items your body has flagged as potential sensitivities, typically organised by category or severity level.
Lab results showing abnormal readings are signals, not final diagnoses. A positive sensitivity result means the test has identified a potential reaction. It does not confirm a medical condition. This distinction matters because it shapes what you do next.
- High sensitivity items: Consider removing these from your diet for a trial period of four to six weeks as part of an elimination diet
- Moderate sensitivity items: Note these and monitor your symptoms when you consume them
- Low or no reaction items: These are unlikely to be contributing to your symptoms
- Inconclusive results: These may require a repeat test or further investigation
Pro Tip: Keep a food and symptom diary for two weeks before starting an elimination diet based on your results. This gives you a clear baseline to compare against once you begin removing flagged items.
Consulting a GP or registered dietitian before making significant dietary changes is always advisable, particularly if you have existing health conditions or are managing symptoms that have not been previously investigated.
If your result comes back as invalid, do not panic. Invalid results often occur due to environmental factors or minor user errors, and the correct response is to repeat the test using a fresh kit. Never attempt to reuse or reinterpret a failed test device. Ukfoodintolerance provides clear guidance on what to do if this happens, including access to customer support.
For further reading on how results connect to dietary changes, the Ukfoodintolerance guide on at-home sensitivity tests explains how to move from your report to practical next steps.
Key takeaways
A reliable at-home testing workflow depends on correct preparation, precise sample collection, timely posting, and careful result interpretation at every stage.
| Point | Details |
|---|---|
| Preparation is non-negotiable | Read all instructions before starting and gather every component listed in the kit. |
| Sample quality drives accuracy | Collect hair from the root area, free from product residue, for the clearest lab analysis. |
| Post early in the week | Send samples Monday to Wednesday using a tracked service to prevent degradation. |
| Results are signals, not diagnoses | Use your report to guide an elimination diet, then consult a professional for medical context. |
| Invalid results are fixable | Repeat the test with a fresh kit rather than attempting to reuse or reinterpret a failed sample. |
What I have learned from watching people test at home
Over time, one pattern stands out clearly. The people who get the most from their at-home test results are not the ones with the most health knowledge. They are the ones who slow down and read the instructions properly before they do anything else.
The most common mistake I see is rushing the sample collection because it feels simple. Hair collection especially looks easy, so people assume they can skim the guide. Then they collect from the wrong area, use hair with product residue, or forget to include their reference number on the packaging. Any one of those errors can delay or invalidate the result.
There is also an emotional dimension that does not get discussed enough. Getting a long list of potential sensitivities back can feel overwhelming. Some people feel relieved to finally have answers. Others feel anxious about what to cut out. Both responses are completely normal. The report is a starting point, not a verdict. Treat it as information you can act on gradually, not a list of things you have permanently lost.
My honest advice: treat the testing process the same way you would treat any medical appointment. Prepare properly, follow the process carefully, and give yourself time to absorb the results before making changes. The workflow exists to protect the accuracy of your results. Respect it, and it will give you genuinely useful information.
— Rob
How Ukfoodintolerance supports your testing journey
Ukfoodintolerance makes the at-home test procedures as straightforward as possible, from the moment your kit arrives to the day your results land in your portal. The food intolerance test range includes the Core Single Intolerance Test, which covers 500 items, and the Ultimate Single Intolerance Test, which analyses over 1,100 foods and environmental triggers. Both use non-invasive hair sample collection and return results within 48 to 72 hours via a secure digital report. Every kit includes clear pictorial instructions, prepaid return packaging, and access to customer support if anything is unclear. If you are ready to get answers, explore the full test options and choose the kit that fits your needs.
FAQ
How long does the at-home testing process take from start to finish?
From collecting your sample to receiving your digital report, the full process typically takes five to seven days. Laboratory processing alone takes 3 to 5 business days, with fast-track options returning results within 48 to 72 hours.
What happens if my at-home test result is invalid?
An invalid result means the test could not be processed, usually due to a minor collection or transit issue. You should repeat the test using a fresh kit without attempting to reuse the original sample, as invalid result guidance consistently recommends starting fresh.
Do I need to prepare differently for a hair-based test versus a blood test?
Yes. Blood-based tests require warm hands and good hydration to produce a sufficient sample. Hair-based tests like those from Ukfoodintolerance require clean, product-free hair collected from the root area, with no special physical preparation needed.
Can I act on my results without seeing a doctor?
You can use your results to begin an elimination diet, but abnormal results are signals rather than diagnoses. Consulting a GP or registered dietitian before making significant dietary changes is strongly advisable, particularly if you have existing health conditions.
When is the best time to post my sample?
Post your sample between Monday and Wednesday using a tracked 24-hour service. Posting early in the week prevents your sample from sitting in a postal depot over the weekend, which can affect its quality and delay your results.








Leave a Reply
Want to join the discussion?Feel free to contribute!