
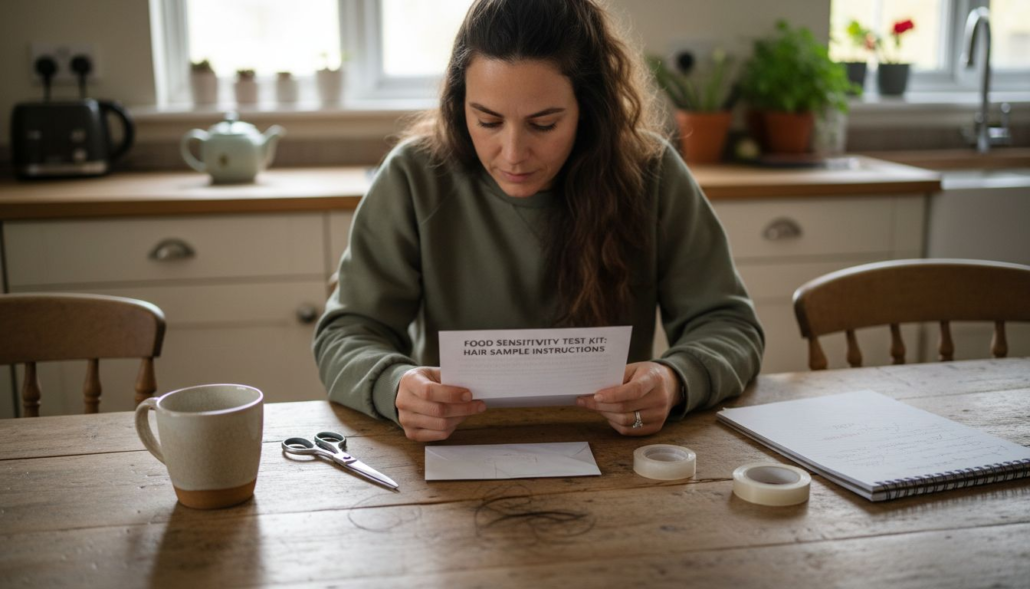
Persistent digestive discomfort can make day to day life frustrating for health-conscious adults across the United Kingdom. When searching for answers, navigating endless triggers and dietary culprits often leads to confusion and fatigue. A reliable at-home food sensitivity test offers a simple approach to uncovering elusive causes behind gut symptoms, all without the need for invasive procedures or clinic visits.
Table of Contents
- Step 1: Prepare Your Hair Sample Collection Kit
- Step 2: Collect Your Hair Sample Correctly At Home
- Step 3: Send Your Sample Securely To The Laboratory
- Step 4: Review Your Digital Results For Key Triggers
- Step 5: Implement Elimination Recommendations For Improved Wellbeing
Quick Summary
| Key Takeaway | Explanation |
|---|---|
| 1. Prepare a clean workspace | Ensure your area is tidy and well-lit to avoid contamination during sampling. |
| 2. Cut hair close to the scalp | Trim 10-15 strands from the back of the head to obtain valuable genetic information. |
| 3. Use untreated hair for accuracy | Hair should not be coloured or chemically treated to ensure reliable test results. |
| 4. Securely package and ship sample | Seal the envelope, label correctly, and choose a reliable courier for safe delivery. |
| 5. Create a tailored meal plan | After receiving results, develop an elimination diet with substitutes to promote wellbeing. |
Step 1: Prepare your hair sample collection kit
Ready to begin your food sensitivity testing journey? Gathering the right hair sample is crucial for obtaining accurate results. Your collection kit contains everything needed to capture a precise sample that will help uncover potential dietary triggers affecting your wellbeing.
Your first task involves preparing a clean and organised workspace. Find a well-lit area with a flat surface where you can comfortably spread out your specimen collection materials. Before starting, wash your hands thoroughly to prevent any potential sample contamination. Look inside your kit and confirm you have all necessary items: collection envelope, gloves, and detailed instructions.
When collecting your hair sample, choose an area at the back of your head near the crown where hair growth is most consistent. You will need clean scissors and will trim approximately 10-15 strands close to the scalp root. The root end contains the most valuable genetic information for testing. Ensure you cut clean sections without touching the root directly.
Expert Advice: Select hair strands from an area that hasn’t been recently coloured or chemically treated to ensure the most reliable testing results.
Here is a comparison of common hair sample mistakes and their impact on test results:
| Mistake | Result Accuracy Impact | How to Avoid |
|---|---|---|
| Using treated or coloured hair | May produce unreliable results | Select untreated, natural hair |
| Touching hair roots with fingers | Risk of contamination | Use clean tools, handle carefully |
| Cutting strands far from scalp | Less genetic material collected | Cut close to the scalp root |
| Folding or damaging sample | Potential sample rejection | Store strands flat, avoid creasing |
Step 2: Collect your hair sample correctly at home
Now that you have prepared your collection kit, it is time to carefully extract the hair sample for precise food sensitivity testing. Your goal is to collect a clean and representative sample that will provide accurate genetic insights into potential dietary triggers.
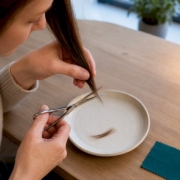
Using clean scissors and following strict hygiene protocols, you will trim approximately 10-15 hair strands from the back of your head near the crown. The key is to focus on collecting hair sample roots where the most valuable genetic information resides. Hold the hair strand close to the scalp and cut cleanly without touching the root directly. Aim to collect strands that are uniform in thickness and free from any product residue.
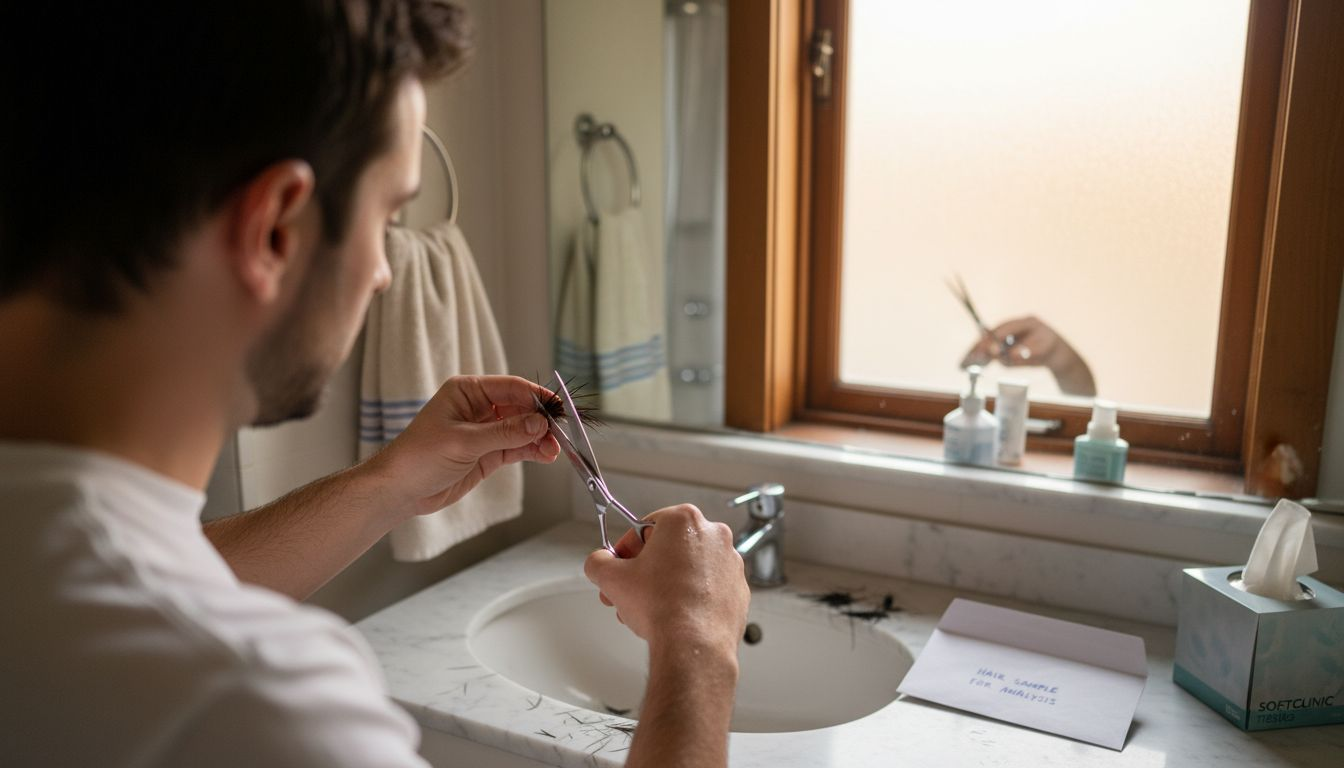
Once you have your hair sample, carefully place the strands into the provided collection envelope. Avoid folding or creasing the hair, and ensure the roots remain intact and undamaged. The envelope will protect your sample during transit to the laboratory for comprehensive analysis.
Expert Advice: Work in a well-lit area with clean hands and tools to minimise potential contamination of your hair sample.
Step 3: Send your sample securely to the laboratory
With your carefully collected hair sample prepared, the next crucial stage is ensuring its safe and secure transportation to the laboratory for comprehensive analysis. Proper packaging and shipping are essential to maintaining the integrity of your genetic test.
Begin by sealing the collection envelope completely. Double check that all personal identification details are clearly written on the envelope. You will want to use secure courier services that guarantee careful handling. Place the sealed envelope inside the pre addressed return packaging provided in your testing kit, ensuring it remains flat and undamaged during transit.
Select a shipping method that provides tracking and swift delivery. Most food sensitivity testing services recommend using standard postal services or their preferred courier to guarantee your sample arrives quickly and in optimal condition. Avoid extreme temperatures or prolonged transportation times that might compromise your sample’s genetic material.
Expert Advice: Photograph the sealed envelope and tracking number before posting for your personal records and peace of mind.
Step 4: Review your digital results for key triggers
After several days of anticipation, your comprehensive food sensitivity test results have arrived digitally. Understanding food sensitivity test reports requires careful attention and a systematic approach to interpreting the complex information presented.
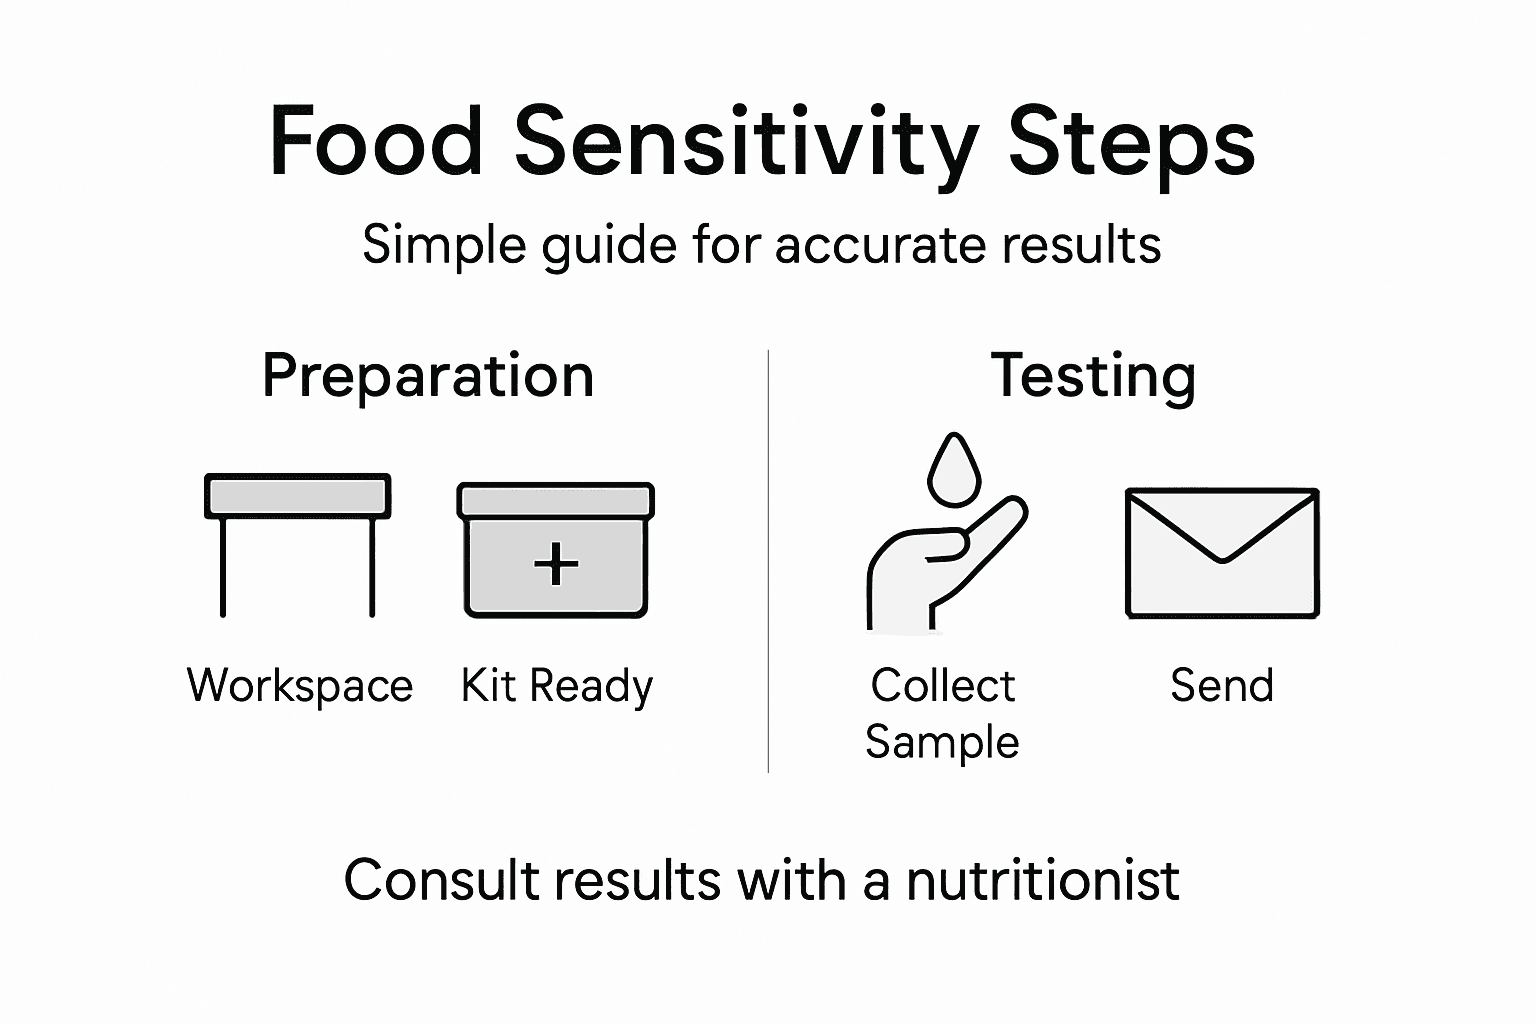
Your digital report will likely categorise food triggers into different sensitivity levels typically ranging from mild to severe reactions. Pay close attention to the colour coded or numeric indicators that highlight specific foods causing inflammatory responses in your body. These results map out potential dietary challenges that might be impacting your overall health and wellbeing.
To maximise the value of your results, consider consulting with a nutritional therapist or healthcare professional who can help you develop a personalised elimination diet strategy. They can provide expert guidance on managing identified food sensitivities and creating balanced nutritional alternatives that support your health goals.
Expert Advice: Create a digital or physical copy of your results to track your progress and dietary modifications over time.
The table below outlines the meaning of different food sensitivity report categories:
| Sensitivity Category | Typical Indicators | Suggested Dietary Action |
|---|---|---|
| Mild sensitivity | Occasional discomfort | Consider limiting specific foods |
| Moderate sensitivity | Noticeable symptoms | Temporarily eliminate triggers |
| Severe sensitivity | Frequent strong reactions | Strictly avoid identified foods |
Step 5: Implement elimination recommendations for improved wellbeing
Now that you understand your food sensitivity results, it is time to transform those insights into a practical nutrition strategy. Elimination diet planning requires careful consideration and a systematic approach to remove identified trigger foods while maintaining balanced nutrition.
Begin by creating a comprehensive meal plan that eliminates the specific foods highlighted in your test results. Focus on substituting these ingredients with nutritionally equivalent alternatives that support your overall health. For instance, if dairy appears as a sensitivity, explore plant based milk options like almond or oat milk that provide similar calcium and protein content.
Track your progress meticulously by maintaining a detailed food and symptom diary. Note any changes in your energy levels, digestive comfort, and general wellbeing as you implement these dietary modifications. This documentation will help you and potential healthcare professionals understand the effectiveness of your elimination strategy and make informed adjustments to your nutritional approach.
Expert Advice: Consult a registered nutritionist to help design a balanced meal plan that meets all your dietary requirements while avoiding identified trigger foods.
Discover Clear Answers to Your Food Sensitivities with Ease
If you have followed the detailed steps in our guide to food sensitivity testing you understand how important precise sample collection and proper lab analysis are to uncovering hidden dietary triggers that may be affecting your wellbeing. Struggling with unpredictable digestive discomfort or unexplained symptoms can be frustrating and isolating. That is why accessing reliable, non-invasive testing like the Ultimate Single Intolerance Test or the Core Single Intolerance Test from UK Food Intolerance is invaluable. These tests cover a broad range of possible triggers with expert-backed accuracy and fast digital results delivered within 72 hours.
Take control of your health journey today by starting with our straightforward at-home hair sample collection process. Visit Digestive Health Archives – UK Food Intolerance to learn more about managing sensitivities and head directly to UK Food Intolerance to choose your test kit. If you want to understand broader intolerances including egg sensitivity browse our Egg Intolerance – Symptoms, Allergy Difference & How to Test page. Do not wait for symptoms to dictate your lifestyle act now and gain the clarity you deserve with expert, accessible food sensitivity testing.
Frequently Asked Questions
How do I prepare my hair sample collection kit for food sensitivity testing?
To prepare your hair sample collection kit, start by selecting a clean, well-lit workspace and wash your hands thoroughly. Confirm that you have all necessary items, including the collection envelope, gloves, and instructions, before you begin the sample collection process.
What is the correct way to collect my hair sample at home?
To collect your hair sample correctly, trim approximately 10-15 hair strands from the back of your head near the crown, ensuring you cut close to the scalp root. Use clean scissors, handle the strands carefully, and store them in the provided envelope without folding or creasing the hair.
How should I send my collected hair sample to the laboratory?
Seal the collection envelope completely, ensuring your personal identification details are clearly written. Then, place the envelope inside the pre-addressed return packaging, and choose a shipping method that offers tracking and fast delivery to protect your sample during transit.
How can I interpret the food sensitivity test results I receive?
To interpret your food sensitivity test results, examine the categorised sensitivity levels, which usually range from mild to severe reactions to specific foods. Consult a nutritional therapist or healthcare professional for guidance on developing an elimination diet based on your results for improved wellbeing.
What steps should I take after receiving my food sensitivity test results?
After receiving your food sensitivity test results, begin by creating a meal plan that eliminates the identified trigger foods while incorporating nutritious substitutes. Maintain a detailed food and symptom diary to track changes in your wellbeing over time, helping you gauge the effectiveness of your dietary modifications.









Leave a Reply
Want to join the discussion?Feel free to contribute!