
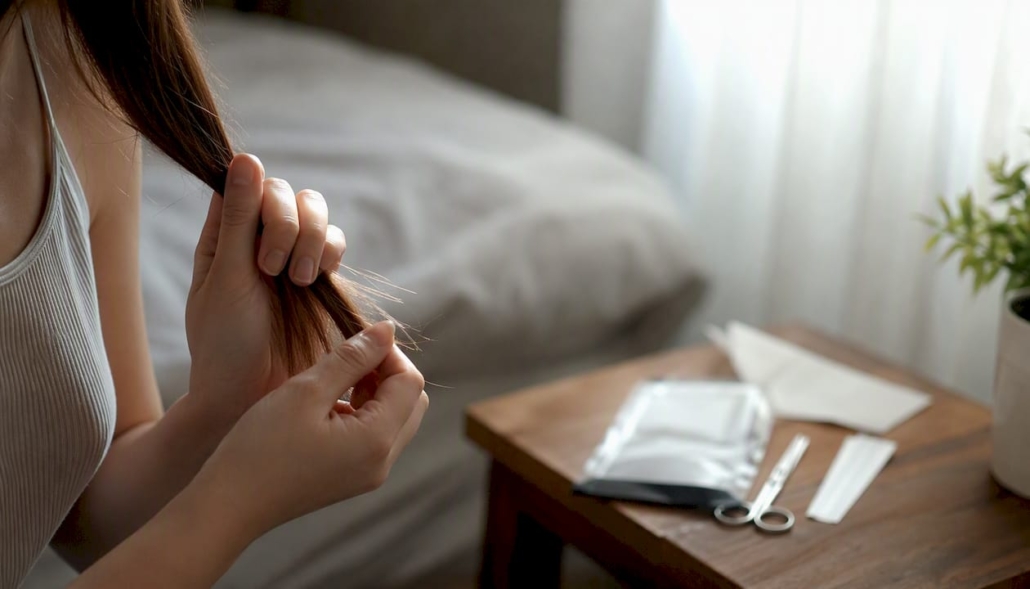
The complete workflow for at-home sample collection is: prepare your kit → collect your sample → package it correctly → post it promptly → wait for your results. Before you open anything, run these three checks:
- Your ID label is present and your name, date of birth, and forename are legible.
- The kit has not passed its expiry date.
- The Instructions for Use (IFU) leaflet is inside the box.
Pro Tip: Photograph your kit contents before you collect. If the lab ever queries your sample, that photo proves you used the correct components and labelled them before dispatch.
Those three checks prevent the majority of rejections. The sections below walk you through every stage of the at-home testing workflow in detail, from verifying your kit to reading your results.
Key takeaways
Following the complete workflow for at-home sample collection, from kit verification through to correct packaging and same-day posting, is the most reliable way to get a valid result first time.
| Point | Details |
|---|---|
| Label the primary receptacle first | Write your name, date of birth, and forename on the sample tube before collecting, not after. |
| Photograph your kit contents | Take a photo of all labelled components before you begin; keep it until the lab confirms receipt. |
| Post early in the week | Monday to Wednesday posting avoids weekend delays that can deteriorate time-sensitive samples. |
| Follow P650 packaging steps | Use the primary receptacle, absorbent secondary bag, and outer envelope in the correct sequence. |
| Ukfoodintolerance hair-sample kits | Deliver digital reports within 48–72 hours of lab receipt, with full collection guidance and pre-paid returns included. |
Table of Contents
- What should you check before opening your kit?
- How do you verify kit components and the instructions for use?
- How do you collect each common sample type at home?
- How do you package and post your sample in the UK?
- What happens at the lab after you post your sample?
- How do you read your results and what should you do next?
- What are the most common causes of invalid samples?
- A worked example: Ukfoodintolerance’s hair-sample workflow
- What the most common mistake actually costs you
- Ukfoodintolerance makes the home collection process clear and supported
- Sources
What should you check before opening your kit?
Preparation takes five minutes and prevents wasted kits. Work through the following before you touch the collection device.
Check the packing slip. Confirm the test identifier matches what you ordered and that the recipient details, the person whose results will be reported, are correct. If the name is wrong, contact your provider before collecting. A sample labelled with the wrong person’s details will be rejected.
Verify the kit components. Lay everything out and confirm nothing is missing or damaged. Sealed pouches should be intact. The return envelope should be present and pre-addressed. If absorbent material is listed on the packing slip but is not in the box, do not substitute a tissue or paper towel. Contact the provider and request a replacement component.
Personal preparation. Wash your hands thoroughly with soap and water before handling any collection device. For blood tests, warm your finger for two minutes before lancing. For saliva tests, avoid eating, drinking, or smoking for at least 30 minutes beforehand. For children, read the IFU for any age-specific guidance. For pets, the IFU will specify whether the animal needs to be calm and still before hair collection begins.
If anything is missing, damaged, or past its expiry date, stop. Do not improvise. Contact your provider’s customer support line and ask for a replacement kit or component. Using a substitute risks an invalid result and a wasted test.
How do you verify kit components and the instructions for use?
Every home test kit sold for use at home in the UK is regulated as an in vitro diagnostic (IVD) medical device. MHRA guidance confirms that kits used outside a clinical setting are treated as commercially placed IVDs and must meet full conformity and labelling requirements. That means the IFU in your box is a validated, legally required document, not optional reading.
Common kit components to check:
- Primary collection device (lancet, swab, hair foil, stool pot, or saliva tube, depending on test type)
- Primary receptacle or sample tube with a secure cap
- Absorbent material (usually a pad or sheet inside the secondary bag)
- Secondary sealable specimen bag
- Pre-paid return envelope or outer box
- IFU leaflet
- Adhesive ID labels
- Any additional tools (spoon, spatula, activation card)
Reading the IFU quickly. Scan for four things: the sample type required, the minimum volume or quantity, the time limit between collection and posting, and the labelling instruction. Those four items determine whether the lab will accept your sample. Regulators expect IFUs to use clear diagrams and a small number of steps so that lay users can follow them without clinical training.
Labelling. Laboratories typically require three identifiers on the primary receptacle: surname, forename, and date of birth. Some NHS-linked tests also ask for an NHS number. Write these directly on the tube or pot, not just on the outer envelope. If your kit supplies pre-printed adhesive labels, use those and confirm the details are correct before sticking them down.
Photograph the kit. Lay out all components, including the labelled sample container, and take a photo before you begin. Keep that photo until the lab confirms receipt of your sample.
How do you collect each common sample type at home?
Follow the IFU for your specific kit. The guidance below covers the steps that matter most for each sample type and highlights where most people go wrong.
Finger-prick blood
- Wash and dry your hands, then warm the fingertip for two minutes (run it under warm water or rub it briskly).
- Use the lancet on the side of the fingertip, not the pad, to reduce discomfort.
- Wipe away the first drop with a clean tissue. The first drop contains tissue fluid and can dilute the sample.
- Allow subsequent drops to fall freely into the collection tube or onto the collection card. Do not squeeze the finger hard, as this also introduces tissue fluid.
- Fill to the marked line or fill the required number of circles on the card. Insufficient volume is the single most common reason blood samples are rejected.
- Cap or seal the tube immediately and label it before setting it down.
Hair
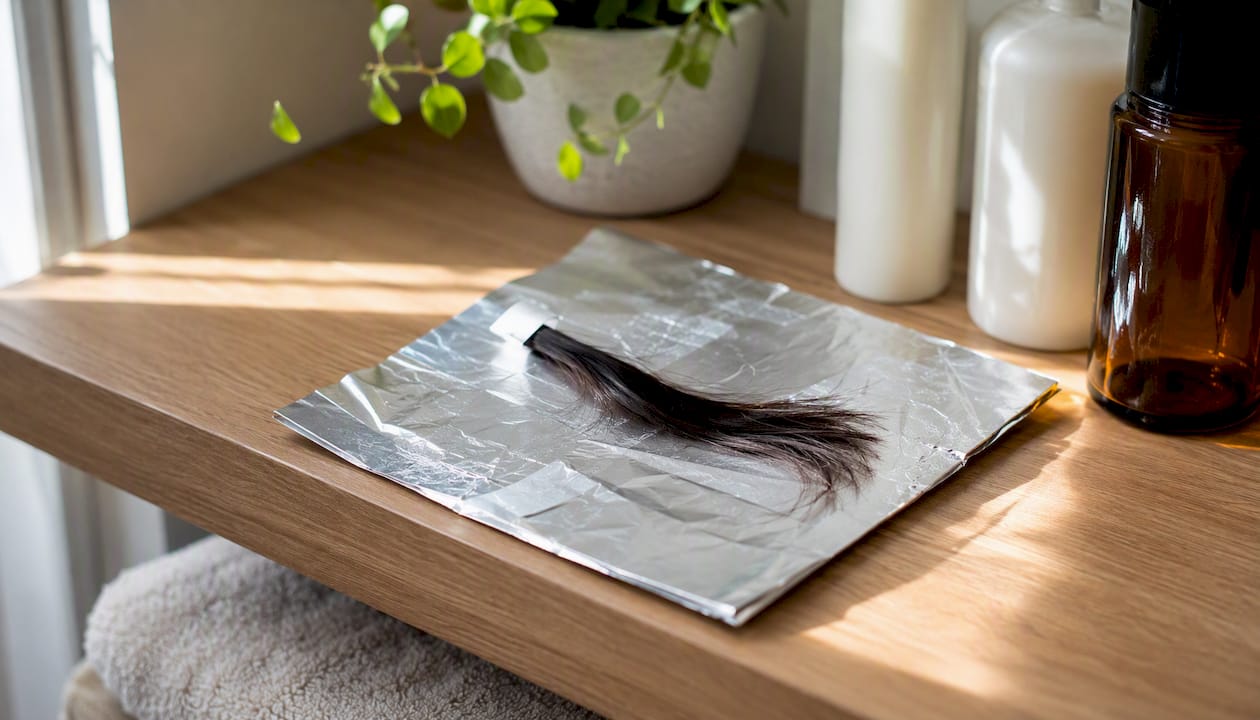
For hair samples used in sensitivity testing, the collection process is straightforward but the orientation matters. Cut hair as close to the scalp as possible using clean scissors. Collect the quantity specified in your IFU, typically a small bundle roughly the diameter of a pencil. Mark the root end clearly on the transport foil before wrapping. For toxicology-grade hair analysis, FFLM guidance confirms that the laboratory interprets timelines from root orientation, so mixing head and body hair invalidates the result. Keep them separate and label each bundle clearly.
Saliva
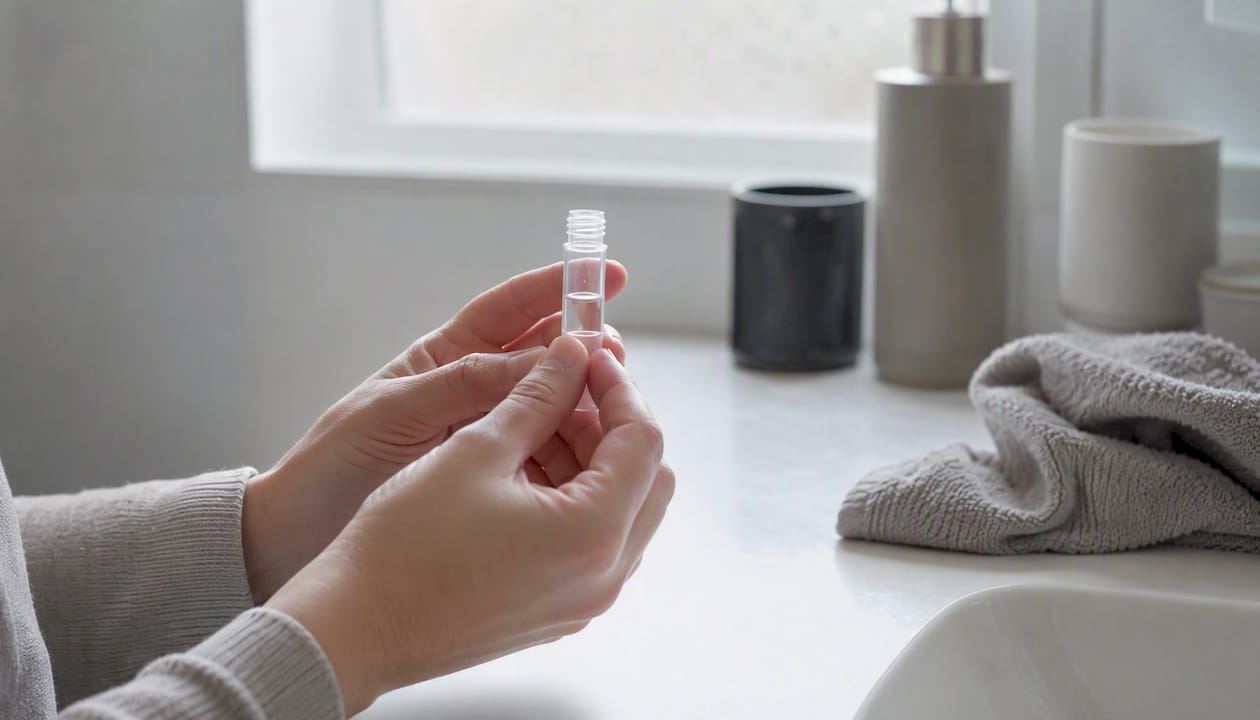
Avoid eating, drinking, chewing gum, or smoking for at least 30 minutes before collection. Produce saliva naturally by thinking of food or gently rubbing your cheeks. Spit slowly into the tube until you reach the fill line. Do not spit bubbles, as foam does not count towards the required volume. Seal the cap firmly and label the tube.
Stool
NHS guidance advises using the supplied container to collect a fresh sample, filling it roughly a third full, writing your full details on the pot, and posting the same day. Use the collection spoon or spatula from the kit. Avoid contaminating the sample with urine or toilet water by using the catch tray or a clean container placed over the toilet. Seal the pot firmly. If posting the same day is impossible, store the sealed pot in the fridge (not the freezer) for no longer than the time stated in your IFU. A patient information leaflet from the Royal Brompton Hospital%20test%20%E2%80%93%20November%202025.pdf) confirms that kits include absorbent material and a pre-paid UN3373 return envelope, and that same-day posting is the standard instruction.
Nasal and throat swabs
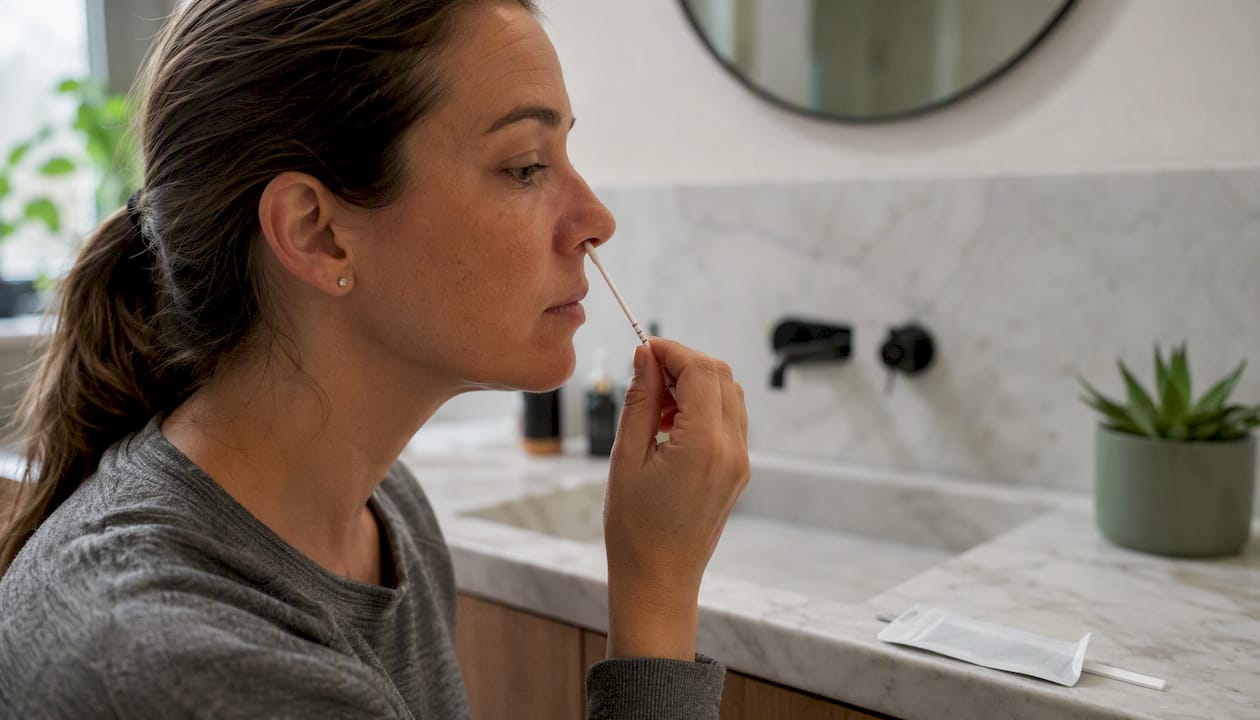
Remove the swab from its sterile packaging without touching the tip. For a nasal swab, insert gently into one nostril and rotate five times against the inner wall, then repeat in the other nostril using the same swab unless the IFU says otherwise. For a throat swab, tilt your head back, open wide, and swab firmly across both tonsil areas and the back of the throat in a single sweeping motion. Avoid touching the tongue, teeth, or cheeks. Place the swab immediately into the provided tube or transport media and seal it. A dry swab, one that has been left exposed to air for more than a few seconds, is a common cause of rejection.
How do you package and post your sample in the UK?
UK postal rules for diagnostic specimens follow Packaging Instruction P650 (UN3373), which requires three components: a primary receptacle (your labelled sample tube or pot), secondary packaging containing absorbent material, and an outer packaging. The outer package must be marked “BIOLOGICAL SUBSTANCE, CATEGORY B” where applicable and must pass a 1.2 m drop test, with the smallest dimension of the outer packaging meeting regulatory minimum size requirements.
In practice, your kit’s pre-paid return envelope or box is already designed to meet these requirements. Your job is to follow the packing sequence exactly.
Step-by-step packaging:
- Place the sealed, labelled primary receptacle inside the secondary specimen bag.
- Fold or place the absorbent sheet around or beneath the primary receptacle inside the bag.
- Seal the secondary bag completely. Check for any gaps.
- Place the sealed secondary bag inside the pre-paid return envelope or outer box.
- If your sample requires refrigeration (check your IFU), place any ice pack outside the secondary bag but inside the outer packaging, and confirm the outer packaging is leakproof. Royal Mail and P650 guidance specifies that ice and refrigerants must sit outside the secondary packaging.
- Seal the outer envelope or box.
Marking. Check whether your pre-paid return envelope already carries the UN3373 diamond and “BIOLOGICAL SUBSTANCE, CATEGORY B” wording. Most provider-supplied envelopes do. If yours does not, do not post it without checking with your provider first.
Posting. Post early in the week, Monday to Wednesday, to avoid samples sitting in a sorting office over a weekend. Post the same day you collect wherever the IFU requests it. Use the pre-paid service supplied; do not switch to a different carrier without checking with your provider. Specimen transport policy from Worcestershire Acute Hospitals NHS Trust confirms that legal responsibility for correct packaging and timely dispatch rests with the sender. Include your contact details inside the outer packaging as instructed, so the lab can reach you if there is a query.
What happens at the lab after you post your sample?
When your sample arrives, laboratory staff check four things before processing begins: the labelling on the primary receptacle, the sample volume or quantity, the integrity of the packaging, and whether the referral form or test identifier matches the sample. If any of these fail, the sample is flagged.
What triggers a rejection. A sample is typically rejected or marked invalid when the label is missing or illegible, the volume is below the minimum required, the sample has deteriorated (for example, a stool sample that arrived after too long in transit without refrigeration), or the packaging was not sealed correctly. The lab will notify you or your provider, usually by email or through the online portal, and will specify the reason.
Typical turnaround times. These vary by test type and provider, but the table below gives realistic UK ranges for common at-home tests.
| Stage | Typical UK timeframe |
|---|---|
| Sample posted to lab received | 1–3 working days (Royal Mail first class) |
| Lab receipt check and logging | Same day or next working day |
| Processing and analysis | 1–3 working days (varies by test type) |
| Digital report delivered | 48–72 hours after processing (hair/bioresonance); 3–5 working days (blood/stool) |
Weekend posting adds at least one working day. If your sample requires a confirmatory test, allow additional time. Hair-based bioresonance tests, such as those offered by Ukfoodintolerance, typically deliver digital reports within 48–72 hours of the lab receiving the sample.
How do you read your results and what should you do next?
A test result is a data point, not a diagnosis. A positive result means the test detected a signal above the threshold for that item. A negative result means no signal was detected at the threshold tested. An indeterminate result means the sample quality or quantity was insufficient to produce a reliable reading.
With a positive result. Note which items are flagged and at what level, if your report uses levels. Use the result alongside an elimination diet to test whether removing those items improves your symptoms. For guidance on reading your report in detail, Ukfoodintolerance provides a dedicated results interpretation guide. If a result is unexpected or you have symptoms that concern you, book a GP appointment to discuss the findings with a clinician. The myGPapp service lets you find and book a GP appointment online, which is useful if you need clinical follow-up quickly.
Privacy and data. Your report is sent to the email address or account registered at the time of ordering. If you entered incorrect recipient details, contact your provider before the report is dispatched. Most providers can correct details up to the point of report generation.
Requesting a retest. If your sample was rejected, contact your provider with the rejection notification. The lab may ask for the original kit reference number and the reason code from the rejection notice. Some providers supply a replacement kit; others ask you to order a new one. Keep all correspondence until the retest is complete.
This is general information, not a substitute for professional medical advice. Always confirm current guidance with your provider or a qualified clinician.
What are the most common causes of invalid samples?
User error is the biggest source of invalid at-home tests. The fixes are almost always simple, but they require catching the mistake before you post.
Common errors and how to address them:
- Wrong or missing label. Always label the primary receptacle, not just the outer envelope. If you realise the label is missing after sealing the secondary bag, unseal it carefully, add the label, and reseal. Never post an unlabelled sample.
- Insufficient sample volume. For blood, collect until you reach the fill line. If the blood stops flowing, re-warm the finger and try again. For saliva, wait and try again rather than submitting a partial sample. For stool, the pot should be roughly a third full.
- Contamination. If the collection device touches any surface other than the intended collection site, discard it and use a new one. Police DNA sampling guidance confirms that contact with any other surface means the sample must be aborted and a new kit used.
- Late posting. Collect and post on the same day wherever the IFU requires it. If you miss the last collection, store the sample as directed and post first thing the next morning, but check whether the IFU permits overnight storage first.
- Incorrect storage temperature. Most samples should be stored at room temperature until posting. Stool samples that cannot be posted immediately go in the fridge, not the freezer. Blood samples should not be refrigerated unless the IFU specifically says so.
- Packaging not sealed. Run your finger along every seal before placing the secondary bag into the outer envelope. A partially open seal can cause leakage and automatic rejection.
| Common mistake | Quick fix |
|---|---|
| Missing label on sample tube | Label before collecting, not after |
| Insufficient blood volume | Re-warm finger, collect again to fill line |
| Contaminated swab tip | Discard, use a new swab from the kit |
| Late posting (weekend) | Post Monday to Wednesday; refrigerate overnight if permitted |
| Unsealed secondary bag | Press seal firmly across the full width before inserting into outer envelope |
| Wrong hair orientation | Mark root end on foil before wrapping |
If you receive an invalid result notification, read the reason code carefully. Most codes map to one of the errors above. Contact your provider with the code and they will advise whether a retest is needed and how to proceed.
A worked example: Ukfoodintolerance’s hair-sample workflow
Ukfoodintolerance uses a non-invasive hair-sample collection process for its bioresonance-based sensitivity tests, which cover over 1,450 items including foods, environmental triggers, nutritional markers, and gut biome indicators. The workflow is one of the most straightforward home sample collection processes available because hair is stable at room temperature and does not require refrigeration or same-day posting.
Step-by-step timeline:
- Order your kit. Select your test at Ukfoodintolerance and complete checkout. Your kit is dispatched to your address.
- Receive and check the kit. Lay out all components and verify the ID label, expiry date, and IFU are present. Photograph the contents.
- Collect the hair sample. Cut a small bundle of hair as close to the scalp as possible using clean scissors. The IFU specifies the required quantity. Mark the root end clearly on the transport foil before wrapping. Full collection guidance is available in Ukfoodintolerance’s hair sample collection guide.
- Label and package. Attach your ID label to the foil or sample bag as directed. Place the wrapped sample inside the return envelope following the packing sequence in the IFU.
- Post. Use the pre-paid return envelope supplied. Post early in the week where possible.
- Receive your report. Ukfoodintolerance delivers digital reports within 48–72 hours of the lab receiving your sample. The report arrives by email and covers all tested items with clear guidance on next steps.
The brand’s support materials, including photo tutorials and an FAQ, are available on its website. If any component is missing or damaged on arrival, Ukfoodintolerance’s customer support team can arrange a replacement before you begin collection.
What the most common mistake actually costs you
The pattern that comes up repeatedly in at-home testing is not a complicated one. Someone collects their sample carefully, follows most of the steps correctly, and then labels the outer envelope but not the primary tube. The sample arrives at the lab, the tube is unlabelled, and the result is a rejection notice and a two-week delay.
The single best habit to prevent this is to label the primary receptacle first, before you open the collection device. Not after. Not while you are sealing the bag. Before you begin. It takes ten seconds and it is the one step that cannot be undone once the sample is inside the secondary bag.
The second habit worth building is the photograph. Lay out your labelled components, take a photo on your phone, and keep it until you receive your report. If the lab queries anything, you have a timestamped record of what you prepared and how. The worked example above shows exactly how this fits into a real collection sequence.
Ukfoodintolerance makes the home collection process clear and supported
Getting an accurate result from an at-home test depends on following a clear process, and that is exactly what Ukfoodintolerance is built around. Its hair-sample kits come with step-by-step collection instructions, photo guidance, and a pre-paid return envelope, so you are not left guessing at any stage. The bioresonance analysis covers over 1,450 items, including foods, environmental sensitivities, nutritional markers, and gut biome indicators, with digital reports delivered within 48–72 hours of the lab receiving your sample.
If a component is missing from your kit or you need to request a retest, the customer support team is there to help before you collect, not just after. Browse the full range of food intolerance tests and find the right kit for your needs.
Sources
The following official sources give you the legal and practical detail behind the guidance in this article.
- Guide to packaging and transportation of biological specimens by road.
- Specimen transport policy (WAH NHS Trust) v7.4
- How to collect a sample of poo (stool sample) – NHS
- Gov









Leave a Reply
Want to join the discussion?Feel free to contribute!