
TL;DR:
- Home sensitivity testing involves collecting samples at home and obtaining screening results, not final diagnoses. It is most effective when combined with professional interpretation and symptom tracking, especially before dietary changes. Acting on unvalidated results can pose health risks, particularly for children, emphasizing the importance of consulting healthcare professionals.
A structured workflow for home sensitivity testing is defined as the sequence of steps from sample collection through to result interpretation, carried out at home before any clinical follow-up. The British Dietetic Association and NHS both emphasise that at-home tests are screening tools, not diagnostic instruments. Ukfoodintolerance guides people through this process using bio-resonance technology, helping you identify potential food and environmental triggers from a simple hair sample. Understanding the correct procedures, and knowing where the limits of home testing lie, protects your health and stops you wasting time on unreliable results.
What tools and preparations do you need for home sensitivity testing?
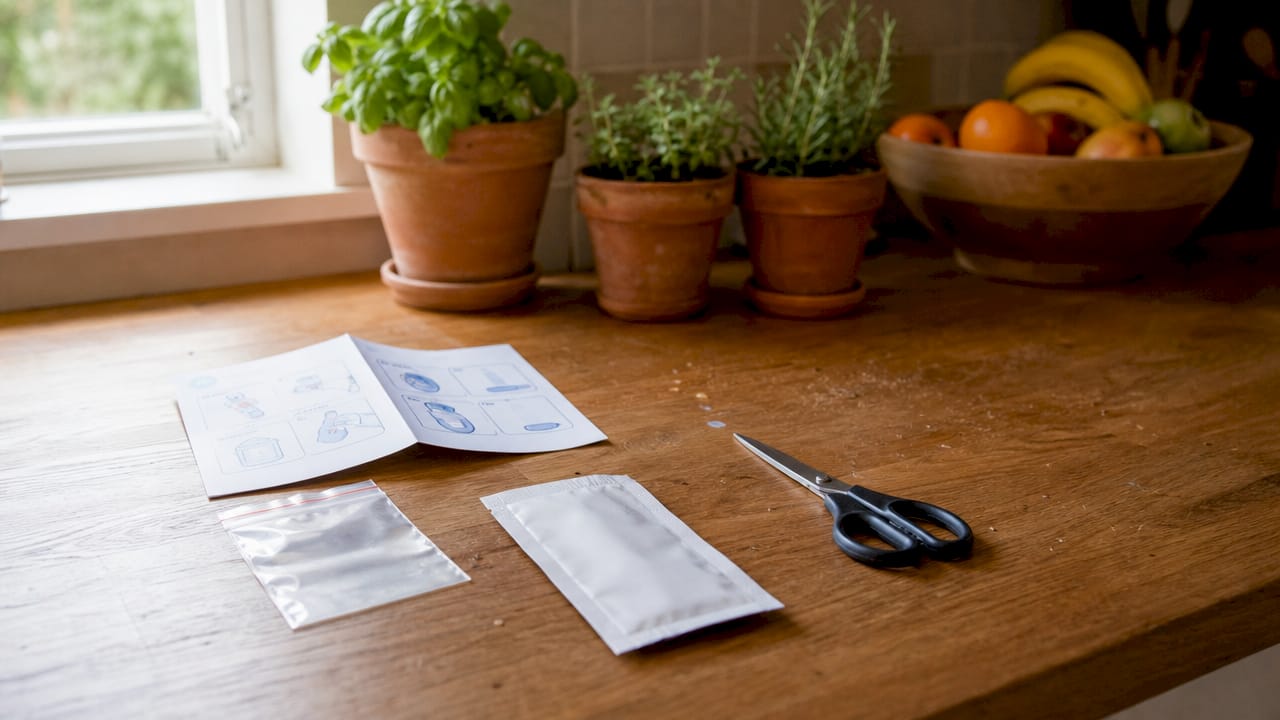
Good preparation separates a useful result from a wasted kit. Before you begin any at-home sensitivity evaluation, you need to gather the right materials and follow a few simple pre-test steps.
The most common sample types used in home sensitivity testing procedures are:
- Hair samples — used by bio-resonance services such as Ukfoodintolerance; no blood required
- Finger-prick blood samples — used by IgE-based allergy screening kits; require sterile lancets and collection tubes
- Symptom diaries — not a physical sample, but a written record of foods eaten and reactions noted over several days
For hair-based testing, you need clean scissors, a small sealable bag or the collection envelope provided in your kit, and a pre-paid return postage label. For finger-prick kits, you also need alcohol wipes, a sterile lancet, and a collection tube. Most reputable kits include all of these in the box.
Preparation matters as much as the sample itself. Wash your hair without heavy conditioner the day before collection. Avoid eating unusual foods in the 24 hours before a blood-based test. Read the kit instructions fully before you start, not halfway through. Timing your collection for the morning, when you are hydrated and calm, tends to produce cleaner samples.
Pro Tip: Take a photo of your completed sample before sealing the envelope. If a postal issue arises, you have evidence that the sample was correctly prepared.
Step-by-step workflow for performing home sensitivity tests accurately
Following a clear, numbered process reduces errors and gives the lab the best possible sample to work with. The steps below apply to the most common home allergy testing steps used in the UK.
- Read the full kit instructions before touching any materials. Different tests have different requirements, and skipping this step is the single most common cause of rejected samples.
- Prepare your sample collection area. Use a clean, flat surface. Lay out all materials before you begin.
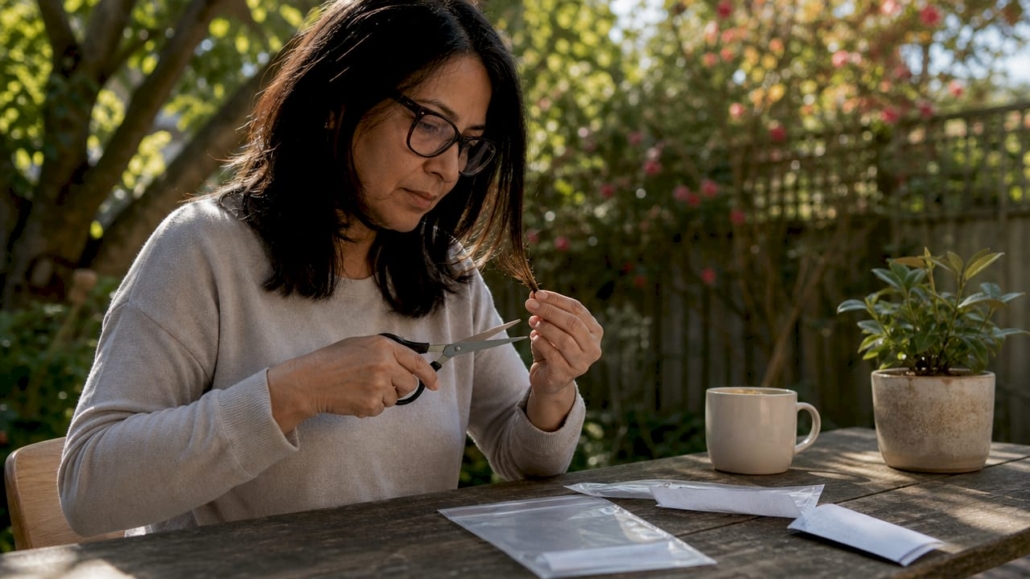
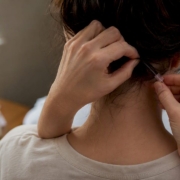
- Collect your sample. For hair-based tests, cut 10–15 strands close to the root from the nape of the neck. For finger-prick tests, warm your hand first to encourage blood flow, then use the lancet on the side of a fingertip.
- Package the sample correctly. Place hair strands in the provided envelope or bag. For blood samples, cap the collection tube firmly and place it in the protective sleeve. Label everything with your name and date of birth exactly as requested.
- Complete the accompanying form. Most kits ask for basic health information. Fill this in accurately. Incomplete forms can delay your results.
- Post the sample using the pre-paid label. Use Royal Mail’s tracked service if a pre-paid label is not included. Post on a weekday to avoid samples sitting in a sorting office over a weekend.
- Note your posting date and keep the tracking reference. Ukfoodintolerance typically returns digital reports within 48–72 hours of receiving a sample.
- Check your email for your results report. Add the sender’s address to your safe senders list so the report does not go to spam.
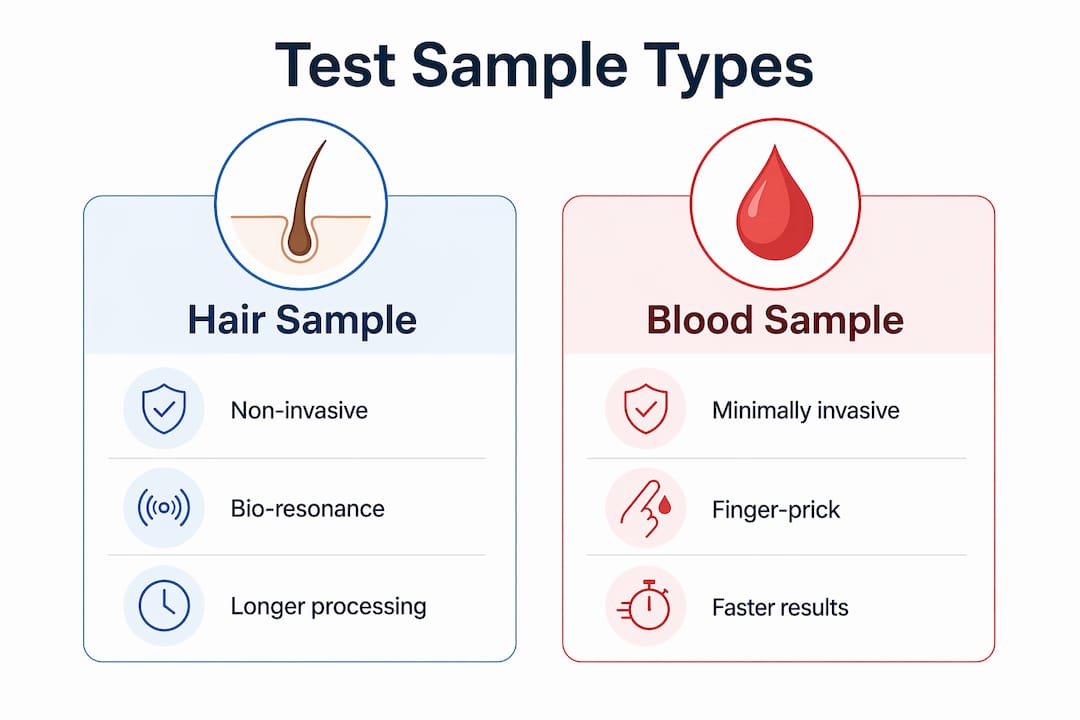
The table below summarises the key differences between the two most common home test sample types.
| Feature | Hair sample (bio-resonance) | Finger-prick blood sample |
|---|---|---|
| Invasiveness | Non-invasive | Mildly invasive |
| Sample preparation time | Under 5 minutes | 10–15 minutes |
| Special equipment needed | Scissors, envelope | Lancet, collection tube |
| Suitable for children | Yes | With care |
| Typical turnaround | 48–72 hours | 3–7 days |
Pro Tip: Post your sample on a Monday or Tuesday. This gives it the best chance of arriving at the lab before the end of the working week, keeping your turnaround time as short as possible.
How do you interpret home test results safely?
Home test results require careful reading. Test results without clinical history can cause false reassurance or confusion, which is why professional context matters. A result report is a starting point, not a final answer.
Most reports list items in categories such as “high reactivity,” “moderate reactivity,” or “no reactivity.” These categories reflect the test’s findings, not a confirmed medical diagnosis. You should not remove foods from your diet based on a single result alone.
Key steps to take after receiving your report:
- Book a GP appointment. Share your results and describe your symptoms in detail. Your GP can refer you to a dietitian or allergy specialist if needed.
- Consult a registered dietitian before making any significant dietary changes. The British Dietetic Association recommends professional supervision for any elimination diet.
- Cross-reference results with your symptom diary. If a food appears as high reactivity but you have never noticed a reaction to it, flag this with your clinician.
- Avoid eliminating multiple food groups at once. Removing several foods simultaneously makes it impossible to identify which one caused a reaction.
Consulting GPs for formal assessment remains the recommended next step after any home screening. Self-diagnosis using home kits alone can delay identifying serious conditions. Treat your report as useful evidence to bring to a professional, not as a prescription for dietary change.
What are the common mistakes in home sensitivity testing workflows?
The most significant mistake people make is treating an unvalidated test result as a definitive diagnosis. NHS guidance is clear: there is no reliable at-home hair or bio-resonance test for food intolerance that meets clinical diagnostic standards. This does not mean home testing has no value. It means results must be interpreted within the right framework.
IgG-based home tests present a specific risk. IgG-based home tests can mislead consumers and delay proper diagnosis. IgG antibodies reflect food exposure, not intolerance. A high IgG reading for wheat simply means you eat wheat regularly, not that wheat is harming you.
“Hair analysis and bioresonance tests lack recognised scientific foundation and are not supported by the British Dietetic Association or NHS. Results vary widely between providers and can mislead consumers.”
NHS 111 Wales
The nutritional risk is especially serious for children. Unnecessary removal of multiple foods risks long-term nutritional deficiency, particularly in growing children. Paediatric dietitians report that the safest approach for children is a professionally supervised elimination diet, not a home kit result acted on without guidance. If you are testing children at home, always involve a healthcare professional before making any dietary changes.
Hydrogen breath tests, used clinically for conditions such as lactose intolerance, are not available as reliable home versions. Commercial home test kits are not recommended for diagnosing these conditions. Breath-based home kits sold online vary widely in accuracy and should be treated with caution.
How does symptom tracking improve your home testing results?
Symptom tracking is the most underused part of the process for sensitivity analysis at home. Clinical history remains foundational for proper diagnosis, and a well-kept symptom diary is the closest thing to clinical history that you can produce yourself.
A useful symptom diary records:
- Every food and drink consumed, including portion sizes and preparation methods
- Symptom type, timing, and severity — note whether symptoms appear within 30 minutes or several hours after eating
- Reproducibility — does the same food cause the same reaction consistently, or only sometimes?
- Confounding factors — stress, poor sleep, and illness can all mimic food intolerance symptoms
Run your diary for at least two weeks before starting any elimination diet process. This gives you a baseline. Structured elimination and reintroduction diets remain the gold standard for detecting food intolerances safely and effectively in the UK. A dietitian supervises the removal of suspected foods for 2–6 weeks, then reintroduces them one at a time to confirm reactions.
Combining your symptom diary with your lab results gives your GP or dietitian far more to work with. A report showing high reactivity to dairy, combined with a diary showing bloating within two hours of consuming milk, is a much stronger case for investigation than either piece of evidence alone.
Pro Tip: Use a free app such as a notes app or a dedicated food diary app to log symptoms in real time. Retrospective logging is far less accurate than recording symptoms as they happen.
Key takeaways
A reliable workflow for home sensitivity testing combines careful sample collection, prompt posting, and professional interpretation of results — never self-diagnosis alone.
| Point | Details |
|---|---|
| Preparation is non-negotiable | Read kit instructions fully and prepare your sample area before you begin. |
| Post on a weekday | Send samples Monday or Tuesday to avoid weekend delays at sorting offices. |
| Results are screening tools | Bring your report to a GP or dietitian before making any dietary changes. |
| IgG tests can mislead | High IgG readings reflect food exposure, not confirmed intolerance. |
| Symptom diaries add real value | Two weeks of diary data strengthens any clinical consultation significantly. |
My honest view on home sensitivity testing in the UK
I have spent years watching people arrive at GP surgeries or dietitian clinics clutching home test results and feeling certain they have found the answer to months of unexplained symptoms. The hope in that moment is real and completely understandable. The frustration that follows, when a clinician explains that the test is not clinically validated, is equally real.
Home testing is not worthless. What it does well is give you a structured starting point and something concrete to discuss with a professional. The Ukfoodintolerance approach, using bio-resonance technology with a hair sample, is non-invasive and accessible. That matters enormously for people who are anxious, exhausted, or simply cannot get a GP appointment quickly enough.
Where I see things go wrong is when people act on results without professional input. Parents are particularly vulnerable to this. The instinct to protect a child from a food that might be causing harm is powerful. But removing wheat, dairy, eggs, and soya from a child’s diet simultaneously, based on a home kit result, can cause genuine nutritional harm. The child ends up worse off, and the actual trigger remains unidentified.
My advice is this: use home testing as a tool to build your case, not to close it. Document everything. Take your results and your symptom diary to a professional. Push for a referral if your GP is dismissive. The home testing workflow works best when it feeds into clinical care, not when it replaces it.
— Rob
How Ukfoodintolerance supports your home testing process
Ukfoodintolerance offers a clear, non-invasive route into the home testing process for people across the UK. The service uses bio-resonance technology to analyse hair samples against over 1,100 food and environmental items, with digital reports returned within 48–72 hours of the lab receiving your sample.
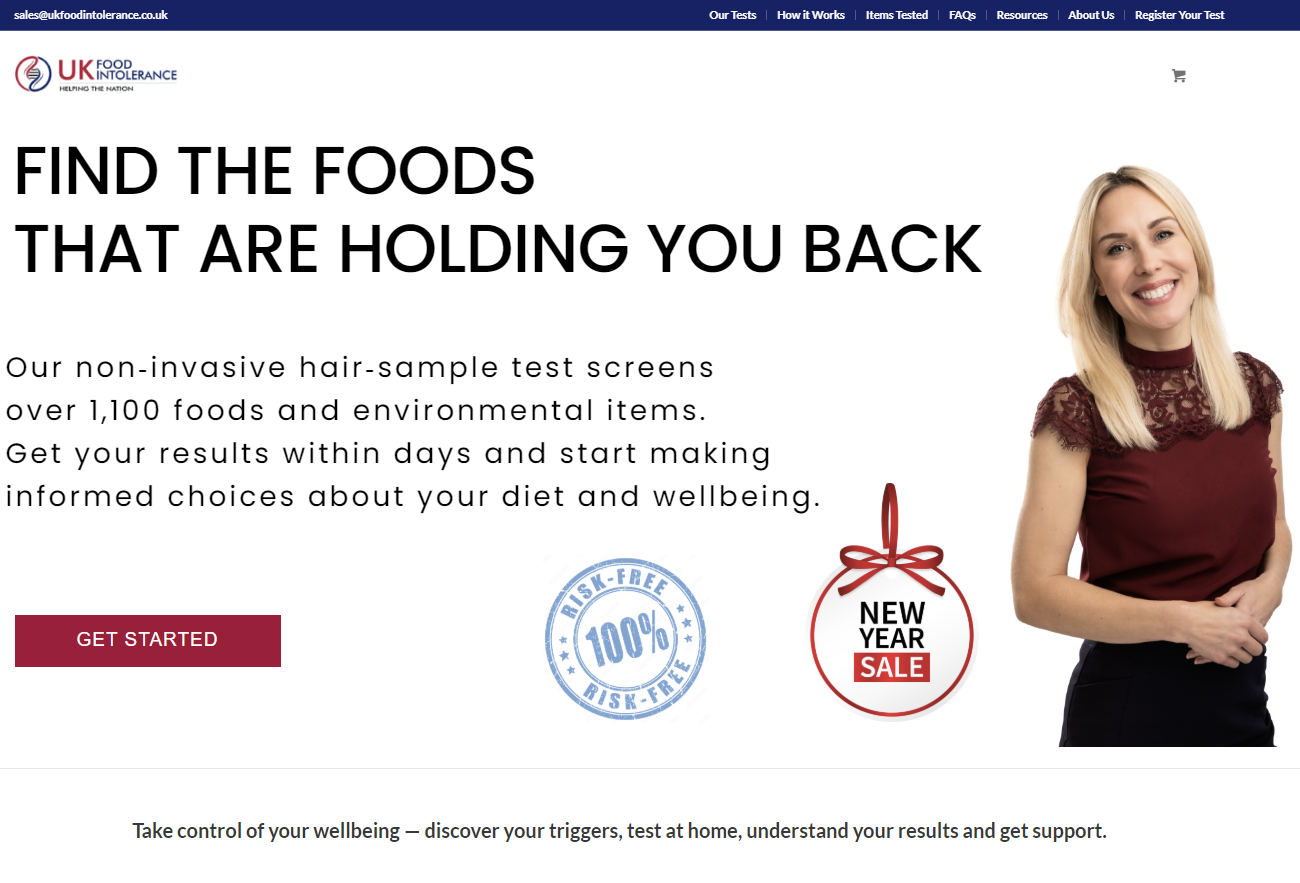
The Ultimate Single Intolerance Test covers more than 1,100 items, while the Core Single Intolerance Test screens 500 items at a lower price point. Both are designed to give you a clear, readable report that you can take to your GP or dietitian. You can browse the full range of at-home intolerance tests or read more about how bio-resonance testing works before ordering. Every kit comes with guidance on interpreting your results and next steps.
FAQ
What is the correct workflow for home sensitivity testing?
The workflow involves collecting a sample at home (hair or blood), packaging and posting it to an accredited lab, and then reviewing the digital report with a GP or dietitian before making any dietary changes.
Are home sensitivity tests reliable?
Home tests are screening tools, not diagnostic instruments. NHS guidance does not recommend hair or bio-resonance tests for clinical diagnosis, but results can be a useful starting point for professional consultation.
Can I use a home test to check my child for food sensitivities?
You can use a non-invasive home test such as a hair-based kit, but paediatric dietitians advise against making dietary changes based on results alone. Always involve a healthcare professional before restricting a child’s diet.
How long does it take to get results from a home sensitivity test?
Turnaround times vary by provider. Ukfoodintolerance returns digital reports within 48–72 hours of receiving a hair sample at its UK-based laboratory.
What should I do after receiving my home test results?
Book a GP appointment, bring your results and symptom diary, and ask for a referral to a registered dietitian if needed. Do not eliminate foods from your diet without professional guidance.








Leave a Reply
Want to join the discussion?Feel free to contribute!