

Every parent faces uncertainty when a child develops sudden rashes, tummy aches, or mood swings without a clear cause. With symptoms often affecting skin, digestion, or behaviour, identifying food sensitivities can feel overwhelming, especially when signs overlap with common illnesses. This practical guide shows you how to recognise key signals, prepare for non-invasive testing, and track real improvements, giving you confidence to support your British family’s wellbeing using gentle, science-led approaches.
Table of Contents
- Step 1: Assess Signs Indicating Possible Food Sensitivity
- Step 2: Prepare For At-Home Intolerance Testing With Your Child
- Step 3: Collect And Submit Hair Samples For Bio-Resonance Analysis
- Step 4: Interpret Results And Implement Recommended Dietary Changes
- Step 5: Monitor Your Child’s Wellbeing And Verify Outcomes
Quick Summary
| Main Insight | Explanation |
|---|---|
| 1. Monitor symptoms after meals | Look for recurring symptoms across skin, digestion, and behaviour to identify food sensitivities. Patterns matter more than isolated symptoms. |
| 2. Use a food and symptom diary | Keep a record of what your child eats and any reactions within 24 hours to help identify potential triggers and patterns. |
| 3. Follow a phased elimination diet | Completely remove red category foods for 12 weeks, then gradually reintroduce amber foods to understand tolerance levels. |
| 4. Involve your child in monitoring | Use a simple sticker chart or emoji system to engage your child in tracking their feelings, making them part of the process. |
| 5. Collaborate with educators | Inform your child’s school or nursery about dietary changes to observe any external behaviours or symptoms that you might miss. |
Step 1: Assess signs indicating possible food sensitivity
Understanding what to watch for is your first step towards identifying potential food sensitivities in your child. Many symptoms overlap with other conditions, so recognising patterns is key. Let’s walk through the signs that warrant attention.
Food sensitivities in children typically show up across three main areas. Skin reactions like eczema, rashes, or itching often appear first. Digestive symptoms including stomach pain, bloating, diarrhoea, and vomiting are common indicators. Respiratory issues such as wheezing or congestion can also signal a food sensitivity, though these are less common than digestive or skin symptoms.
The timing matters as much as the symptom itself. IgE-mediated food reactions happen quickly, usually within minutes to two hours of eating. Your child might develop hives, swelling, or breathing difficulties right away. Non-IgE-mediated reactions develop more slowly, sometimes over hours or days, making them trickier to spot.
Watch for behavioural changes too. Irritability, hyperactivity, difficulty concentrating, or mood swings after eating certain foods can signal food sensitivities. Some children become unusually tired or cranky. Keep a mental note of when these changes happen in relation to meals.
Look for patterns across multiple systems. If your child has persistent eczema plus occasional stomach complaints plus occasional wheezing, that’s worth investigating. Single, isolated symptoms are less likely to indicate food sensitivity, but persistent ones affecting different parts of the body are worth exploring further.
Symptoms can be seasonal or gradually worsening. Notice if your child’s eczema flares up at certain times or if digestive issues have slowly intensified over weeks or months. This progression often points to food sensitivities rather than acute illness.
Here’s a concise summary of food sensitivity symptom types and their typical onset:
| Symptom Type | Common Manifestations | Typical Onset After Eating |
|---|---|---|
| Skin | Eczema, rashes, hives, itching | Immediate (minutes to hours) |
| Digestive | Stomach pain, diarrhoea, bloating | Delayed (hours to days) |
| Respiratory | Wheezing, congestion, coughing | Can be immediate or delayed |
| Behavioural | Irritability, fatigue, mood swings | Often delayed (hours to days) |
- Skin symptoms: eczema, rashes, hives, itching
- Digestive symptoms: stomach pain, bloating, diarrhoea, vomiting, constipation
- Respiratory symptoms: wheezing, nasal congestion, coughing
- Behavioural changes: irritability, hyperactivity, mood swings, fatigue
- Timing clues: immediate reactions (minutes to hours) or delayed reactions (hours to days)
Patterns matter more than single symptoms. When your child shows recurring issues across skin, digestion, or behaviour in connection with meals, that’s your signal to assess further.
Pro tip: Start keeping a simple food and symptom diary now, even before formal testing. Note what your child eats and any reactions within the next 24 hours. This diary becomes invaluable when discussing results with healthcare professionals and identifying your own patterns.
Step 2: Prepare for at-home intolerance testing with your child
Getting ready for at-home testing sets the foundation for accurate results. Your preparation ensures the sample collection goes smoothly and your child feels comfortable throughout the process. A few simple steps make all the difference.
Start by explaining the test to your child in age-appropriate language. Tell them you’re collecting a tiny hair sample to learn more about foods that might upset their tummy or skin. Keep it simple and reassuring. Most children feel much less anxious when they understand what’s happening.

Choose a calm moment for sample collection. Your child should be relaxed and not stressed or upset. Avoid collecting samples right after meals or when your child is tired or emotional. A quiet time during the day works best for gathering accurate samples.
Gather your supplies before you begin. You’ll need a clean, dry envelope, a small pair of scissors or tweezers, and your testing kit instructions. Having everything ready means the process takes just a few minutes without fumbling around.
Prepare the collection area. Use a clean, flat surface like a table or counter. Make sure you have good lighting so you can see clearly. Your child can sit comfortably whilst you collect the hair sample. Preparing your home for testing ensures minimal disruption and maximum accuracy.
Collect hair from the scalp, not shed hair from brushes or the floor. Your testing kit will specify how many strands you need, typically 5 to 10 hairs. Pluck them gently from the root to include the hair follicle, which contains the DNA needed for analysis. Place them directly into the provided container.
Label everything clearly with your child’s full name and the date of collection. This prevents any mix-ups at the laboratory. Double-check you’ve included all required information on the form before posting.
- Explain the test in simple, reassuring language
- Choose a calm, relaxed time for collection
- Gather supplies and prepare your space beforehand
- Collect hair from the scalp with roots intact
- Label samples clearly with name and date
- Post within 48 hours for best results
Preparation removes anxiety for both you and your child. A few minutes of planning creates a smooth, stress-free testing experience that yields reliable results.
Pro tip: Let your child pick a small reward or activity for after the test is complete, such as choosing what’s for lunch or picking a film to watch together. This positive association makes them more relaxed during collection and turns the experience into something they view positively.
Step 3: Collect and submit hair samples for bio-resonance analysis
Collecting your hair sample correctly ensures the laboratory receives material suitable for accurate bio-resonance analysis. The process is straightforward and takes just a few minutes. Precision matters, so follow these steps carefully.
Choose a hidden area of the scalp to collect your sample. The back of the head or behind the ears works well. This prevents visible bald patches and gives you easy access to healthy hair close to the root. Avoid collecting from areas that have recently been treated with dyes or chemical products.
Gather approximately 5 to 10 hairs depending on your testing kit instructions. Use clean scissors or tweezers to collect the sample. Proper hair sample collection techniques ensure you capture hair close to the scalp where the follicle contains necessary biological information.
Place the hairs on the collection foil provided in your kit. Align the cut ends in the same direction. This organisation helps the laboratory process your sample efficiently. Make certain the sample sits flat on the foil without tangling.
Never mix head hair with body hair. Use only hair from the scalp for this test. If you need to collect multiple samples, vary the collection sites slightly to ensure you’re gathering from different areas. This diversity strengthens the accuracy of your results.
Securely seal your sample in the container provided. Your kit contains specially designed packaging that protects the sample during transit. Double-check that everything is sealed properly before placing it in the envelope.
Complete the required form with your full name, date of birth, and collection date. Include any relevant health information requested. Place the sealed sample and completed form inside the envelope and post it to the laboratory address provided.
- Collect from hidden scalp areas to avoid visible marks
- Use 5 to 10 hairs with roots intact
- Align cut ends in the same direction on foil
- Never mix head and body hair
- Seal securely in the provided container
- Post within 48 hours of collection for best results
Correct collection technique directly impacts test accuracy. Taking these few minutes to follow each step properly ensures your results reflect true sensitivities.
Pro tip: Keep a photocopy or photograph of your completed form and sample receipt for your records. This documentation helps you track your submission and provides proof of posting if any questions arise about your test timeline.
Step 4: Interpret results and implement recommended dietary changes
Your test results arrive within 48 to 72 hours as a detailed digital report. Understanding how to read and act on these results sets you on the path to real symptom improvement. The process is straightforward once you know what to look for.
Your results will categorise foods using a traffic light system. Green foods are safe to eat freely without triggering reactions. Amber foods should be reduced or temporarily avoided as they may cause mild reactions. Red foods are your main culprits and should be eliminated completely during the initial phase.
Start by focusing on the red category. These are the foods most likely causing your child’s symptoms. Removing them entirely gives your immune system time to reset and symptoms to subside. This initial elimination phase typically lasts around 12 weeks.
During these 12 weeks, keep detailed records of your child’s symptoms. Note any improvements in energy levels, skin clarity, digestion, or behaviour. Most families notice positive changes within the first 3 to 4 weeks. Track what you observe so you can measure progress objectively.
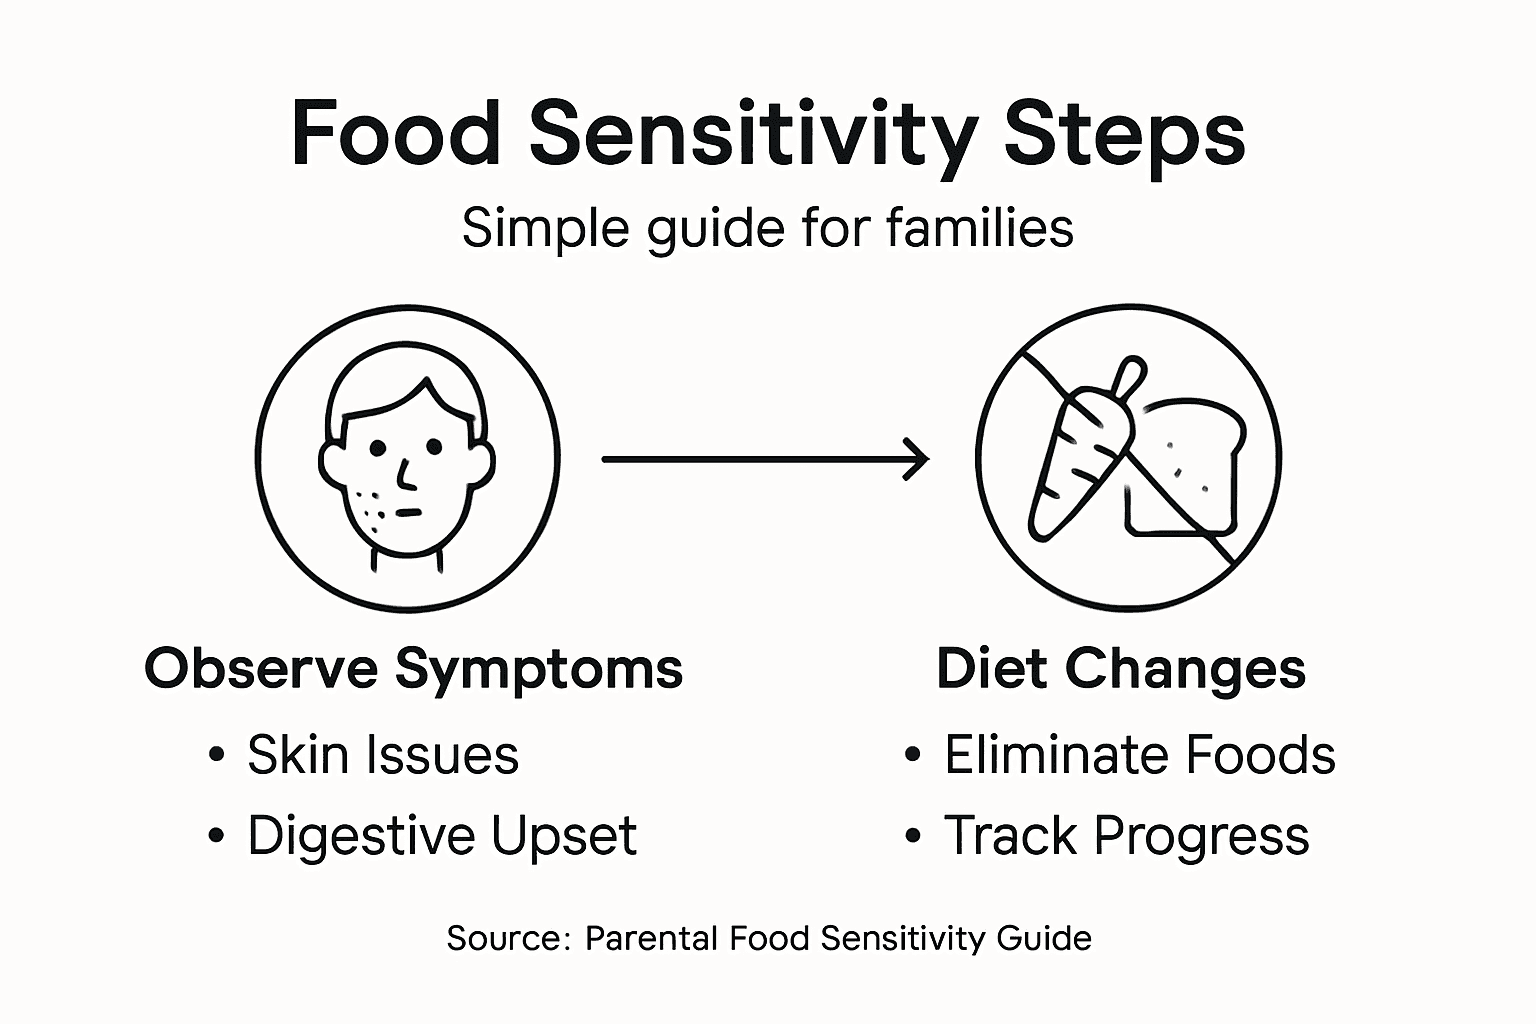
A phased elimination diet approach helps reset immune function whilst maintaining nutrition. After 12 weeks, you can begin cautiously reintroducing amber foods one at a time. Wait 3 to 5 days between reintroductions to identify which amber foods your child can tolerate.
Green foods remain your foundation throughout. Build your family’s meals around these safe options. Consider consulting a nutritionist to ensure your child receives balanced nutrition whilst avoiding trigger foods. They can suggest alternative foods and recipe ideas.
Reintroduction takes patience but provides valuable information. Your child might tolerate some amber foods perfectly well. Others may trigger mild reactions. This gradual process helps you identify your child’s personal tolerance thresholds rather than following a rigid restriction.
- Week 1 to 12: Eliminate red foods completely
- Track symptoms daily to monitor improvements
- Keep a detailed food and symptom diary
- After 12 weeks: Begin reintroducing amber foods slowly
- Wait 3 to 5 days between introducing new foods
- Monitor reactions carefully during reintroduction
Elimination followed by controlled reintroduction reveals your child’s true food sensitivities. This two-phase approach gives you a clear, personalised dietary map rather than guesswork.
Pro tip: Create a simple chart with your child showing green, amber, and red foods using pictures or colours. Let them help choose meals from the green list and involve them in the reintroduction process. This transforms what could feel restrictive into an empowering family adventure where your child becomes an active participant in their own wellness.
Step 5: Monitor your child’s wellbeing and verify outcomes
Systematic monitoring transforms your dietary changes from guesswork into measurable progress. Tracking your child’s symptoms reveals which adjustments work and which need refining. This ongoing observation is crucial for confirming the effectiveness of your approach.
Create a simple daily symptom log for the first 12 weeks of elimination. Record energy levels, skin condition, digestion, behaviour, sleep quality, and concentration. Use a simple scale like 1 to 5 or tick boxes. This consistency helps you spot patterns that might otherwise go unnoticed.
Note the timing of any reactions carefully. If your child eats a green food and experiences symptoms, that’s important information. Record what was eaten, when it was eaten, and what symptoms appeared. This detective work helps refine your understanding of individual tolerances.
Week 3 to 4 is when most families see the first real improvements. Your child might sleep better, have clearer skin, or show improved focus. These early wins motivate everyone to stay committed to the process. Celebrate these victories, no matter how small they seem.
Regular observation and prompt recording of symptom changes enables you to make informed decisions about reintroduction. By week 8 to 12, you should have a clearer picture of your child’s baseline wellbeing without trigger foods.
Inform your child’s school or nursery about the dietary changes. Ask staff to observe and report any behavioural or physical changes they notice. Teachers spend significant time with your child and may spot patterns you might miss. This collaborative approach strengthens your monitoring efforts.
Photograph or document improvements that are visually obvious. Before and after photos of skin conditions like eczema provide compelling evidence of progress. These visual records motivate your family and provide clear data for discussing results with healthcare professionals.
After 12 weeks of elimination, assess the overall picture. Has your child’s primary complaint improved significantly? Are symptoms reduced even if not completely gone? These outcomes guide your reintroduction strategy and future dietary decisions.
Compare the phases involved in dietary change for food sensitivity management:
| Phase | Main Goal | Family Actions | Typical Timeline |
|---|---|---|---|
| Elimination | Remove trigger foods | Strictly avoid red foods | First 12 weeks |
| Monitoring | Track improvements and reactions | Daily symptom diary | Weeks 1-12 |
| Reintroduction | Identify tolerated amber foods | Gradually reintroduce | After 12 weeks |
- Track symptoms daily in a simple log or diary
- Note timing, what was eaten, and what symptoms appeared
- Watch for improvements around week 3 to 4
- Share observations with your child’s school or nursery
- Take before and after photos of visible improvements
- Review progress at the 12-week mark
Detailed monitoring turns observations into evidence. What you track becomes what you know, transforming uncertainty into clear, actionable insights about your child’s true food sensitivities.
Pro tip: Involve your child in age-appropriate monitoring by using a sticker chart or simple emoji rating system to track how they feel each day. This develops their awareness of their own body’s responses and creates a shared language for discussing symptoms together.
Take Control of Your Child’s Food Sensitivities with Expert Support
Struggling to pinpoint your child’s food sensitivities can be overwhelming and emotionally draining for any parent. This guide has shown how recognising patterns in symptoms such as eczema, digestive upset, or behavioural changes can be challenging without clear answers. At UK Food Intolerance, we understand your goal is to identify those elusive triggers quickly and accurately so you can restore your child’s wellbeing and peace of mind.
With our convenient at-home testing kits using advanced bio-resonance technology, you can take the guesswork out of managing food sensitivities. Our Food Sensitivities Archives – UK Food Intolerance is packed with resources to empower your family in this journey.

Discover how simple it is to collect a quick hair sample and submit it for testing at a UK-based laboratory with turnaround times of just 48 to 72 hours. Whether you choose the Ultimate Single Intolerance Test or the Core Single Intolerance Test, you will receive detailed, easy-to-understand reports to inform elimination diets tailored specifically to your child’s needs. Act now to transform uncertainty into clarity and help your child thrive with confidence. Learn more at UK Food Intolerance and start your family’s personalised path to health today. For further insights on gut health and triggers, explore our IBS & Gut Health – Symptoms, Triggers and Food Intolerance Links.
Frequently Asked Questions
What are the most common signs of food sensitivities in children?
Food sensitivities in children often manifest as skin reactions, digestive symptoms, or respiratory issues. Look for patterns such as eczema, bloating, or wheezing that occur alongside certain foods.
How can I prepare my child for at-home food sensitivity testing?
Explain the process in simple terms to your child, emphasising it as a simple test to help understand their tummy or skin issues. Choose a calm moment for sample collection to ensure your child feels relaxed and comfortable.
What should I do once I receive my child’s food sensitivity test results?
Focus on eliminating the red foods from their diet first, as these are likely causing the most issues. Maintain this elimination for 12 weeks while tracking any symptom improvements in your child.
How can I monitor my child’s wellbeing during the elimination phase?
Keep a daily symptom log to track changes in energy levels, skin condition, gastrointestinal issues, and behaviour. Document symptoms and any reactions to foods meticulously to find patterns that may indicate sensitivities.
When can I start reintroducing foods back into my child’s diet?
After 12 weeks of eliminating red foods, you can start to cautiously reintroduce amber foods one at a time. Wait 3 to 5 days between each reintroduction to monitor any reactions, helping to identify tolerated foods.
How do I involve my child in the process of managing their food sensitivities?
Engage your child by letting them participate in tracking their symptoms using an emoji rating system or a sticker chart. This involvement empowers them to understand their own body and feel more in control of their food choices.










Leave a Reply
Want to join the discussion?Feel free to contribute!