

Around one in five British adults report ongoing digestive discomfort or mysterious fatigue with no clear cause. These unexplained symptoms often leave people questioning if everyday foods could be behind their struggles. As awareness grows about non-allergy sensitivities, more British individuals are turning to at-home food intolerance testing. This guide offers practical steps for understanding your symptoms, choosing the right test, and interpreting results so you can regain control over your wellbeing.
Table of Contents
- Step 1: Understand Your Food Intolerance Symptoms
- Step 2: Select The Right Bio-Resonance Test Pack
- Step 3: Prepare And Collect Your Hair Sample Correctly
- Step 4: Submit Your Sample For Fast Laboratory Analysis
- Step 5: Interpret Your Digital Results With Guidance
Quick Summary
| Key Insight | Explanation |
|---|---|
| 1. Recognize Symptoms of Food Intolerance | Symptoms can vary widely, including digestive discomfort, fatigue, and skin issues, often appearing hours after eating. |
| 2. Keep a Symptom Journal | Document your food intake and symptoms to identify potential triggers over a two-week period for better insights. |
| 3. Choose the Right Testing Kit | Select a bio-resonance test pack that tests a wide range of items and provides detailed results for accurate understanding. |
| 4. Prepare Your Hair Sample Carefully | Ensure an uncontaminated sample is collected as per guidelines, using clean materials and techniques for accurate results. |
| 5. Consult a Healthcare Professional | After receiving test results, work with a dietitian to create a balanced dietary plan tailored to your needs. |
Step 1: Understand your food intolerance symptoms
Understanding your food intolerance symptoms represents the crucial first step in identifying potential dietary triggers affecting your health. When your body struggles to digest certain foods, it can produce a range of uncomfortable and sometimes puzzling physical responses that impact your overall wellbeing. Symptoms of food intolerance can manifest differently for each person, making awareness and careful observation essential.
Typical food intolerance symptoms often include digestive challenges such as bloating, abdominal pain, diarrhoea, and excessive gas. However, these reactions extend beyond digestive discomfort. You might experience additional signs like persistent headaches, unexpected fatigue, skin rashes, joint pain, or recurring nausea. Unlike food allergies, these symptoms generally develop several hours after consuming problematic foods and do not involve immediate immune system responses.
Here’s how common food intolerance symptoms differ from food allergies for clearer understanding:
| Aspect | Food Intolerance | Food Allergy |
|---|---|---|
| Onset of symptoms | Several hours after eating | Minutes after exposure |
| Typical symptoms | Digestive discomfort, rashes, fatigue | Swelling, hives, breathing issues |
| Immune involvement | No immune reaction | Immune system response |
| Severity | Usually mild to moderate | Can be life-threatening |
Tracking your symptoms systematically can provide valuable insights into potential dietary sensitivities. Consider maintaining a detailed food diary where you record everything you eat and any physical reactions you experience. This approach helps you identify patterns and potential trigger foods more effectively. By documenting the type of food, time of consumption, and subsequent symptoms, you can build a comprehensive understanding of how specific ingredients might be impacting your health.
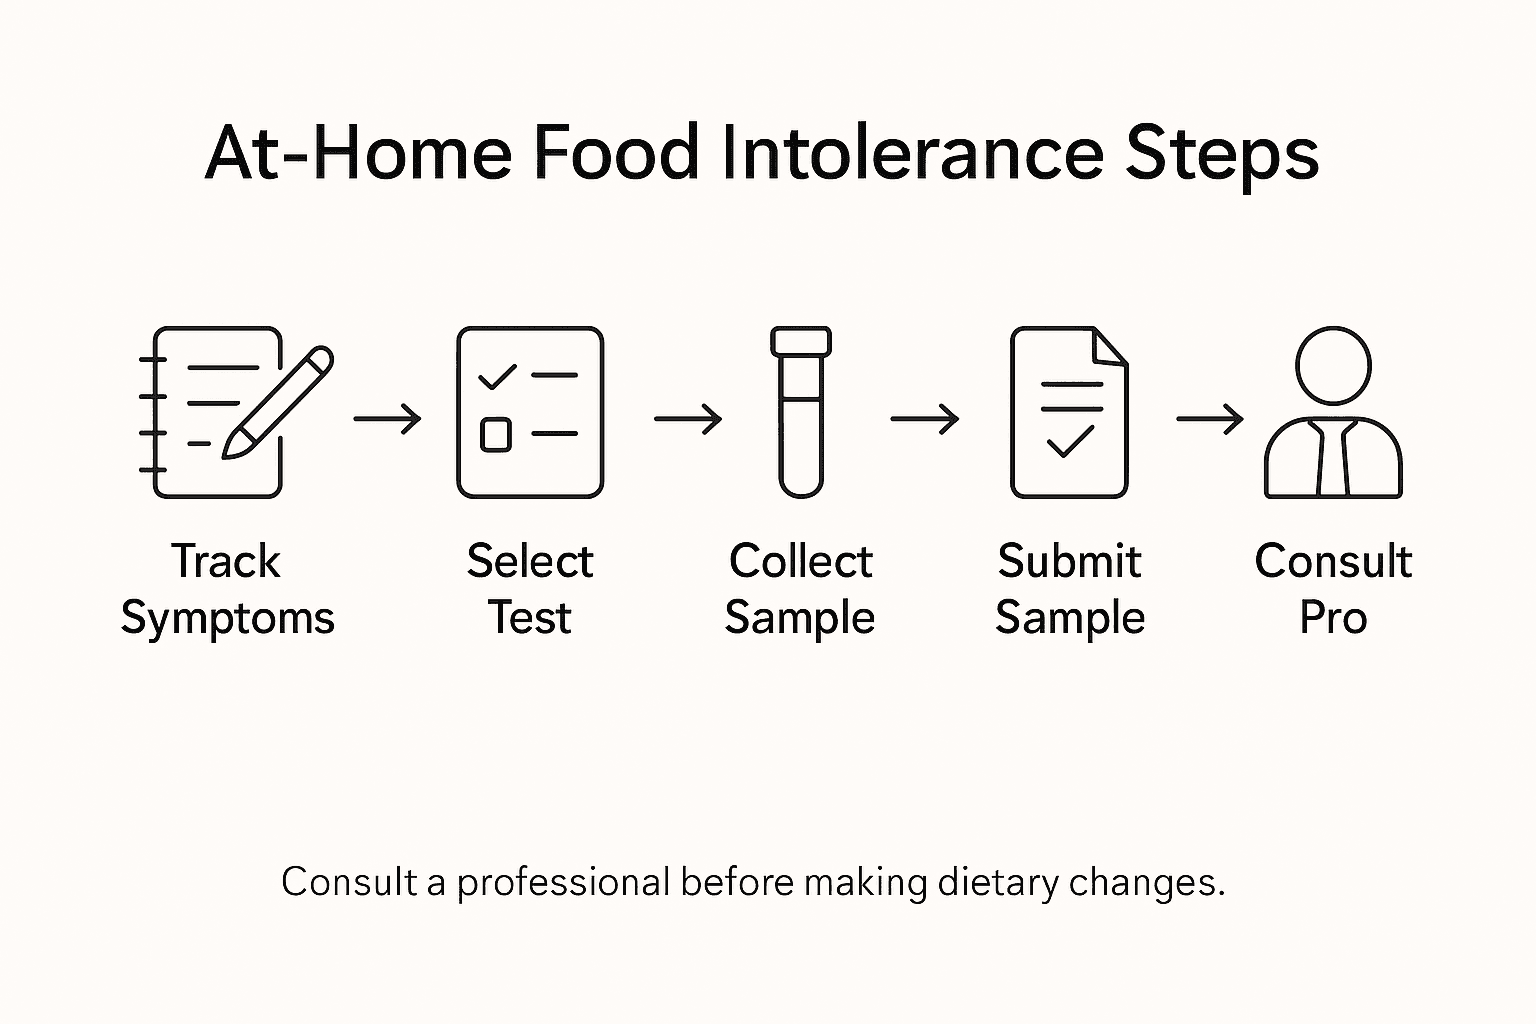
Helpful Hint: Keep a digital or physical symptom journal for at least two weeks to capture consistent and detailed information about your body’s responses to different foods.
Step 2: Select the right bio-resonance test pack
Selecting the most appropriate bio-resonance test pack requires careful consideration of your specific health needs and understanding the limitations of current testing methodologies. While bio-resonance testing offers an intriguing approach to identifying potential food sensitivities, current food safety guidelines recommend cautious evaluation of commercial testing methods.
When exploring test pack options, prioritise comprehensive coverage that allows you to assess a wide range of potential food triggers. Look for tests that provide detailed reporting across multiple food categories, including common allergens, dairy products, grains, and specific protein groups. Consider the number of items tested some advanced packages analyse over 1000 potential food and environmental sensitivities, offering a more thorough assessment of your potential intolerances.
It is crucial to understand that bio-resonance testing should not replace professional medical consultation. These tests provide initial insights but are not definitive diagnostic tools. Healthcare professionals recommend complementing any at-home testing with professional guidance, potentially involving elimination diets, blood tests, or specialist consultations to confirm and manage potential food intolerances effectively.
Here is a quick overview of key factors when choosing a bio-resonance test pack:
| Factor | Why It Matters | What to Consider |
|---|---|---|
| Range of items tested | Comprehensive coverage helps identify more triggers | Choose packs testing 500+ items |
| Report detail level | Clear results help guide next steps | Look for breakdowns by food groups |
| Professional support | Ensures results are interpreted correctly | Access to dietitian or helpline |
| Suitability for allergies | Appropriateness for individual needs | Not a replacement for medical advice |
Helpful Hint: Consult with a healthcare professional before and after conducting any at-home food intolerance testing to ensure comprehensive and accurate interpretation of your results.
Step 3: Prepare and collect your hair sample correctly
Collecting a precise and uncontaminated hair sample is crucial for ensuring accurate bio-resonance testing results. Laboratory guidelines emphasise the importance of careful sample preparation and storage, with specific recommendations to maintain the integrity of your genetic material and testing potential.
To prepare your hair sample, start by selecting clean hair strands from the root area, preferably from the back of your head where hair growth is most consistent. Use clean scissors and avoid touching the hair with bare hands to prevent contamination. Aim to collect approximately 10 to 15 hair strands, ensuring they are pulled gently from the root to include the follicular base where most genetic information resides. Ensure your hair is free from styling products, chemical treatments, or excessive oils that might interfere with testing accuracy.
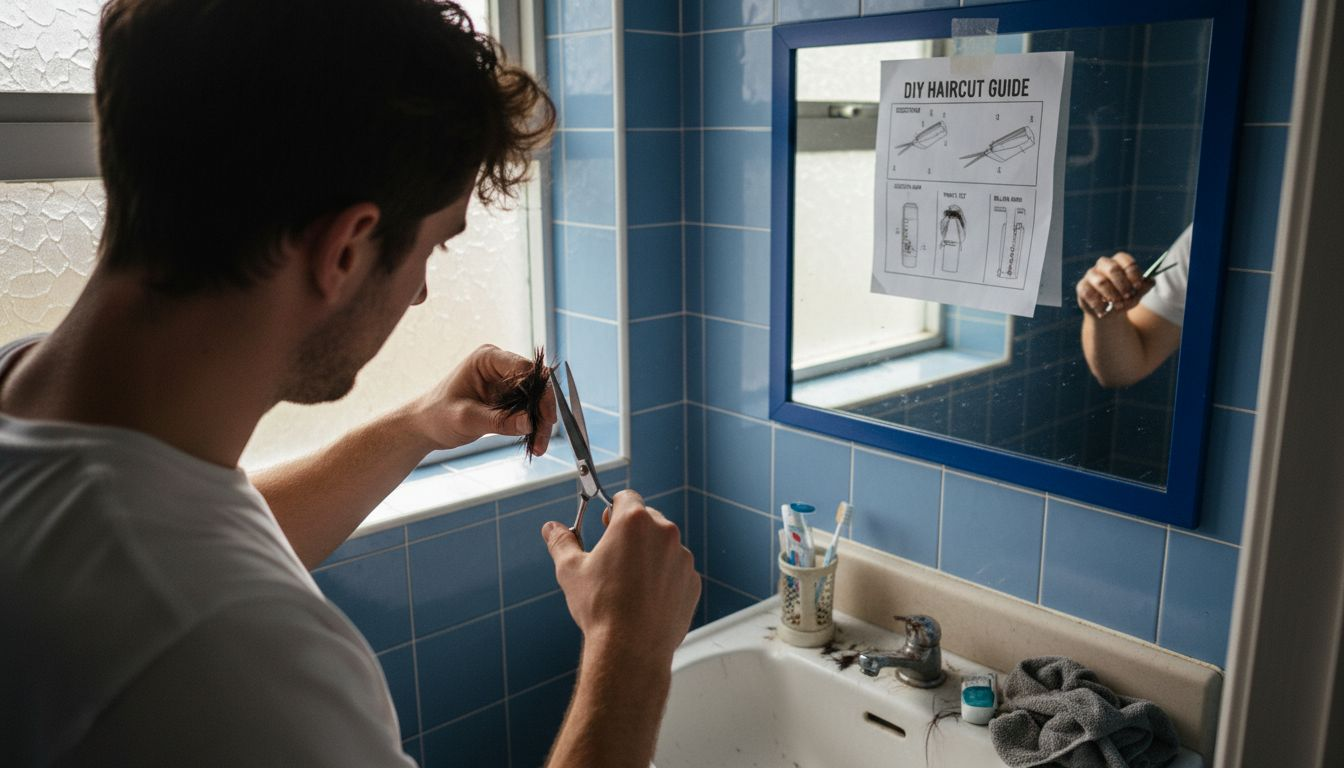
After collection, place your hair sample in the provided sterile collection envelope or container, making sure to label it clearly with your personal details and collection date. Handle the sample with care, keeping it at room temperature and avoiding exposure to direct sunlight or extreme temperatures. Dispatch the sample promptly using the prepaid packaging to ensure it reaches the laboratory within the recommended timeframe for optimal analysis.
Helpful Hint: Wash your hands thoroughly before handling collection materials and use clean tweezers or gloves to minimise potential sample contamination.
Step 4: Submit your sample for fast laboratory analysis
Submitting your hair sample correctly is the critical final stage that ensures accurate and timely testing results. Official laboratory guidelines emphasise precise sample documentation and prompt transport protocols to maintain the integrity of your testing process.
Carefully package your hair sample using the prepaid envelope or container provided in your testing kit. Ensure all personal details are clearly and legibly written on the sample label, including your full name, collection date, and any unique identification number from your test kit. Double check that the packaging is sealed securely to prevent any potential contamination or damage during transit. Most laboratories recommend dispatching your sample within 48 hours of collection to preserve the biological material and ensure optimal testing conditions.
Once packaged, use the included prepaid postage label to send your sample through a reliable courier service. Keep the tracking information for your records and reference. Most bio-resonance testing services provide digital updates about your sample’s journey and estimated turnaround time for results, typically ranging between 48 to 72 hours from laboratory receipt.
Helpful Hint: Take a quick photograph of your completed sample packaging and tracking details as a personal backup for your records.
Step 5: Interpret your digital results with guidance
Understanding your bio-resonance test results requires a strategic and informed approach. Digital reports from food intolerance tests demand careful professional interpretation to ensure accurate health insights, helping you develop a targeted dietary management plan.
Carefully review your digital report section by section, paying close attention to the severity ratings for different food categories. Most comprehensive reports will categorise potential intolerances into levels such as mild, moderate, and severe. Focus on identifying the foods marked with higher sensitivity ratings and consider how they align with any existing symptoms you have been experiencing. Create a preliminary list of foods you might need to reduce or eliminate from your diet based on these results.
While your digital report provides valuable insights, it is crucial to consult with a healthcare professional such as a registered dietitian or nutritionist who can help you translate these findings into a practical dietary strategy. They can assist you in developing an elimination diet plan, suggest appropriate nutritional alternatives, and ensure you maintain a balanced diet while managing potential food intolerances. This professional guidance will help you understand the nuanced implications of your test results and develop a personalised approach to managing your dietary sensitivities.
Helpful Hint: Schedule a consultation with a nutritionist within one week of receiving your results to develop a comprehensive and personalised dietary management plan.
Take Control of Your Health with Precise At-Home Food Intolerance Testing
If you have been grappling with unexplained digestive issues, persistent fatigue, or confusing symptoms linked to what you eat understanding your body’s unique reactions is essential. The “Food Intolerance Testing Guide for At-Home Accuracy” highlights key challenges such as recognising symptoms, selecting the right bio-resonance test pack, and properly collecting hair samples to ensure reliable results. At UK Food Intolerance, we make this process simple and trustworthy by offering comprehensive solutions that test over 500 or even 1,100 items, helping you pinpoint your food and environmental sensitivities quickly.
Begin your journey towards better wellbeing today with our easy-to-use test kits that guide you every step of the way from sample collection to receiving detailed, easy-to-understand digital reports within 48 to 72 hours. Don’t let food intolerances silently affect your quality of life. Visit UK Food Intolerance now to choose the perfect test for your needs and access expert advice on interpreting your results and managing your diet effectively. Discover relief and clarity in your health starting now.
Frequently Asked Questions
What are common symptoms of food intolerance?
Understanding the symptoms of food intolerance is essential for identifying dietary triggers. Common symptoms include bloating, abdominal pain, and fatigue, often developing several hours after eating. Keep track of your symptoms by maintaining a food diary to help identify any problem foods.
How do I select the right bio-resonance test pack for food intolerance?
Choose a bio-resonance test pack that provides comprehensive coverage of potential food triggers. Look for tests that analyse over 500 items and include detailed reports to guide your next steps in managing your intolerances.
What is the process for collecting a hair sample for testing?
Collect a clean hair sample from the root area of your hair, preferably using clean scissors to ensure no contamination. Gather 10 to 15 hair strands, avoid using styling products beforehand, and place the sample in a sterile container before shipping it promptly.
How do I interpret my digital results from a food intolerance test?
Review your digital report carefully, focusing on the severity ratings of different food categories. Make a preliminary list of foods to consider reducing or eliminating from your diet and consult a healthcare professional to develop a customised dietary management plan based on your findings.
What should I do after receiving my test results?
After receiving your test results, schedule a consultation with a registered dietitian or nutritionist within one week. They can help you understand your results and develop a personalised dietary strategy, ensuring you maintain a balanced diet while managing any identified food intolerances.









Leave a Reply
Want to join the discussion?Feel free to contribute!