
TL;DR:
- Proper hair sample collection requires clean, untreated hair from the posterior crown or nape of the neck to ensure accurate laboratory analysis. Essential preparation includes washing with plain shampoo, avoiding products or chemical treatments, and collecting sufficient, close-to-scalp strands using clean tools. Samples must be stored in dry paper envelopes and sent promptly to prevent contamination and degradation, which can lead to inaccurate results or rejection.
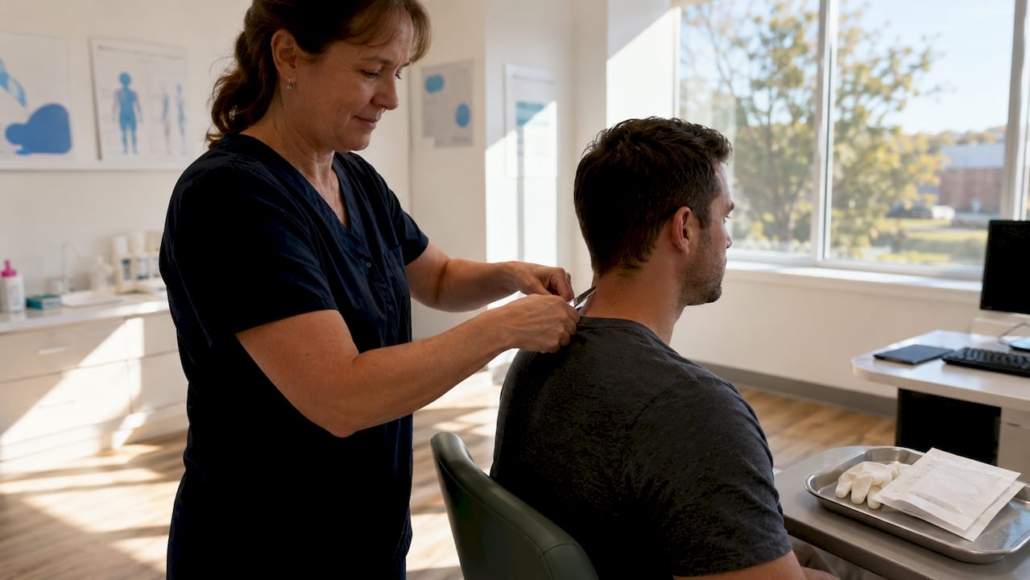
Hair sample collection is a standardised procedure for gathering biological material from the scalp or body for laboratory analysis, and following the correct guidelines for hair sample collection is the single most important factor in obtaining valid results. Whether you are testing for mineral imbalances, food sensitivities, drug exposure, or DNA identification, the method you use to collect, handle, and package your sample directly determines what the laboratory can tell you. A poorly collected sample does not just produce inaccurate data. It can mean a rejected submission, a delayed report, and the frustration of starting the process again. This guide walks you through every stage of the process clearly and precisely.
What preparatory steps are essential before collecting a hair sample?
Preparation is where most people go wrong, and it is entirely avoidable. The goal is to present the laboratory with a clean, uncontaminated strand of hair that reflects your body’s genuine biochemistry rather than the residue of products you applied three days ago.
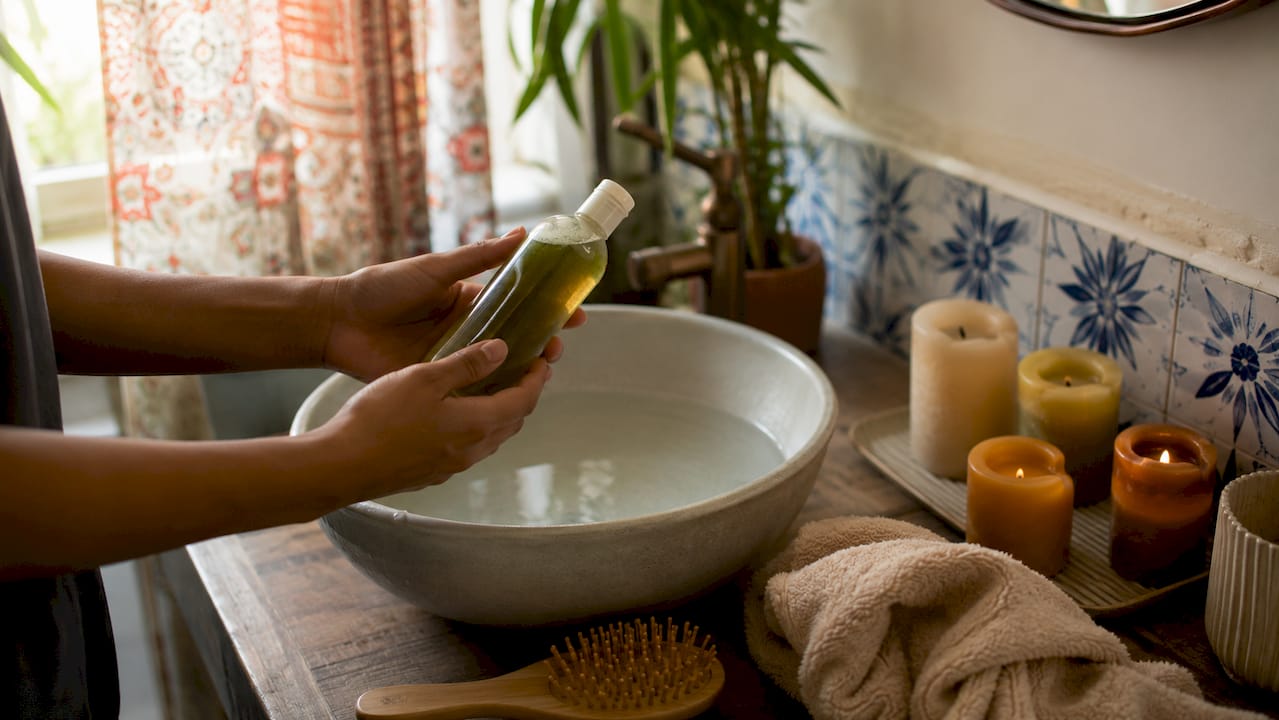
Begin by washing your hair with a plain, non-medicated shampoo and no conditioner. Conditioners coat the hair shaft with silicones and emollients that interfere with mineral readings and can skew sensitivity analysis. Rinse thoroughly and allow your hair to dry completely before collection. Do not apply any products after washing.
Beyond the wash itself, you need to consider the days leading up to collection. Avoid hair products such as gels, sprays, and oils for one to two days before sampling. This window matters because product residue does not always wash out fully in a single shampoo. Practitioners consistently identify failure to avoid styling products as the most common cause of inaccurate mineral analysis results.
Chemical treatments require a longer waiting period. If your hair has been coloured, permed, bleached, or chemically relaxed, mineral analysis requires at least one inch (approximately 2.5 cm) of new, untreated growth before you collect. This is because chemical processes alter the mineral content of the hair shaft itself, making treated sections unreliable for analysis. For food intolerance testing using bioresonance technology, check your specific laboratory’s guidance on this point, as requirements can vary.
Finally, avoid exercising heavily or exposing your hair to environmental chemicals, chlorinated water, or excessive sweat immediately before collection. These factors introduce external contaminants that the laboratory cannot always distinguish from internal biomarkers.
Pro Tip: Wash your hair the evening before collection and sleep without applying any products. Collect your sample the following morning before styling. This is the simplest way to meet preparation requirements without disrupting your routine.
How to collect a hair sample correctly: step-by-step
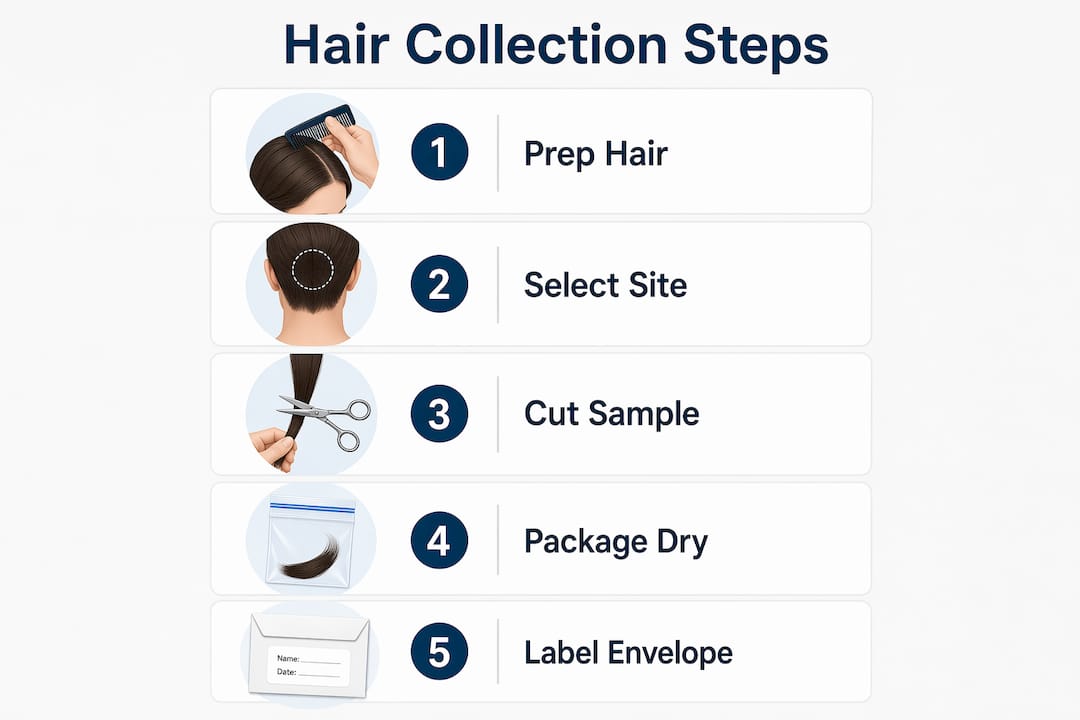
The physical collection process differs depending on your test type, but the core principles of site selection, tool hygiene, and quantity apply across all methods. Here is the standard procedure for head hair collection.
-
Choose the correct site. The posterior crown of the head, also known as the nape of the neck, is the preferred collection site for most tests. This area provides a consistent growth rate, which is critical for time-sensitive analyses such as drug screening and mineral testing. Clinical experts recommend this site specifically because growth patterns here are more uniform than at the temples or crown.
-
Use clean scissors. Standard household scissors, washed and dried, are the correct tool. Electric clippers lubricated with mineral oil can contaminate your sample with the lubricant itself, introducing false mineral readings. Avoid them entirely.
-
Cut close to the scalp. For mineral analysis and intolerance testing, cut the hair as close to the scalp as possible. Only the root-end section of the strand is used for analysis. Collect several small sections from across the nape area and combine them to form a representative sample. This avoids creating a visible patch while still gathering enough material.
-
Collect sufficient quantity. For mineral analysis, you need approximately 125 mg of hair, which is roughly a tablespoon of cut strands. For intolerance testing via bioresonance, your laboratory will specify the exact quantity required, typically a small pinch.
-
For DNA testing, pull rather than cut. DNA-based hair tests require the follicle to be attached. You need to pull 25 to 50 hairs with visibly intact roots. Cutting the hair removes the follicle entirely, leaving no usable DNA material. You can learn more about how home DNA testing works and what follicle integrity means for extraction success.
Pro Tip: Ask a friend or family member to help with the collection. Cutting hair at the nape of your own neck accurately is genuinely difficult, and an uneven cut close to the scalp is far easier to achieve with a second pair of hands.
When head hair is not available
Body hair is an acceptable alternative for some tests, but it comes with an important caveat. Body hair grows at different rates to scalp hair, which affects the detection time window for drug and toxicology screening. A centimetre of scalp hair represents roughly one month of growth, while body hair does not follow the same predictable pattern. For mineral analysis and intolerance testing, beard hair from the chin area is generally the most suitable substitute. Always confirm with your laboratory before using an alternative site.
| Test type | Collection method | Quantity needed | Body hair acceptable? |
|---|---|---|---|
| Mineral analysis (HTMA) | Cut close to scalp, root end only | Approx. 125 mg | Yes, with caution |
| Food intolerance (bioresonance) | Cut close to scalp | Small pinch per lab instructions | Confirm with lab |
| Drug or toxicology screening | Cut at posterior crown, approx. 3.9 cm length | 100 to 120 strands | Yes, with adjusted time window |
| DNA identification | Pull with follicle attached | 25 to 50 hairs with visible roots | Yes, if roots are intact |
What are the most common mistakes to avoid?
Knowing what not to do is just as useful as knowing the correct procedure. These are the errors that most frequently result in rejected or inaccurate samples.
- Using conditioner or styling products before collection. Even a small amount of residue can alter mineral readings or interfere with bioresonance analysis.
- Cutting hair for a DNA test. Without the follicle, there is no DNA to extract. The sample will be rejected.
- Sending hair that is too long. For mineral analysis, only the 3 to 4 cm closest to the scalp is relevant. Longer strands dilute the sample with older, less representative material.
- Mixing hair from different body sites. Scalp hair and body hair have different growth rates and mineral profiles. Combining them produces unreliable results.
- Using plastic bags or foil for packaging. Plastic traps moisture, which promotes microbial growth and degrades the sample. Foil can introduce metallic contamination.
- Collecting too soon after chemical treatment. Treated hair does not accurately reflect your body’s mineral status or sensitivity profile.
- Using contaminated tools. Scissors that have been used with hair products or lubricants transfer those substances directly to your sample.
“The most reliable samples come from people who treat the collection process like a simple clinical procedure: clean tools, clean hair, correct site, correct quantity. Every shortcut creates a variable the laboratory cannot control.”
How to store and package hair samples for the laboratory
Once collected, your sample needs to reach the laboratory in the same condition it left your scalp. Improper storage between collection and posting is a surprisingly common source of sample degradation.
-
Use a clean, dry paper envelope. Paper allows the sample to breathe and prevents moisture build-up. Dry storage in paper envelopes at ambient temperature is the standard recommendation for maintaining sample integrity during transport.
-
Label the envelope clearly. Write your name, date of birth, and the date of collection on the outside. If your laboratory has provided a reference number or barcode, attach it as instructed. For forensic and DNA tests, chain-of-custody protocols require tamper-evident seals and unique identifiers. Follow these instructions precisely.
-
Keep the sample away from heat and moisture. Do not leave it on a sunny windowsill, in a car, or near a radiator. Store it in a cool, dry place until you are ready to post.
-
Send promptly. Post your sample as soon as possible after collection. Delays increase the risk of degradation, particularly in warm weather. Use the packaging and postage method your laboratory recommends.
-
Do not fold or compress the hair. Place strands flat inside the envelope without folding them tightly. Compressed hair can break, and broken strands are harder to weigh and process accurately.
Pro Tip: If you are collecting samples for multiple people at the same time, use a separate labelled envelope for each person immediately after collection. Mixing samples, even briefly, is an easy mistake that is impossible to reverse.
How do collection guidelines differ between test types?
The core workflow for collecting hair samples is consistent, but the specific requirements shift meaningfully depending on what the laboratory is testing for. Understanding these differences helps you collect correctly the first time.
For mineral analysis (also known as hair tissue mineral analysis or HTMA), the hair must be natural, uncoloured, and free from chemical treatments. The laboratory analyses the mineral content deposited in the hair shaft during growth, so any external chemical alteration produces false readings. Only the root-end section is used, and the sample must be cut as close to the scalp as possible.
For food intolerance testing using bioresonance technology, as offered by Ukfoodintolerance, the process is straightforward. A small pinch of hair is collected from the scalp, cut close to the root. The hair carries an energetic imprint that the laboratory analyses against a database of over 1,100 food and environmental items. You can read more about why hair samples are used for this type of analysis and what the results can tell you about your wellbeing.
For drug and toxicology screening, the posterior crown is the required site. Approximately 3.9 cm of hair length is collected, representing roughly 90 days of exposure history. The quantity is typically 100 to 120 strands. Body hair may be accepted but the detection window differs because body hair does not grow at a predictable monthly rate.
For DNA testing, the follicle is the entire point. Cutting the hair produces a useless sample. You must pull the hair to detach it with the root bulb intact, collecting 25 to 50 strands with clearly visible follicles.
- Mineral analysis: cut, root-end only, untreated hair, approx. 125 mg
- Bioresonance intolerance testing: cut, small pinch, follow lab instructions
- Drug screening: cut at posterior crown, 3.9 cm length, 100 to 120 strands
- DNA testing: pulled with intact follicle, 25 to 50 hairs
For a detailed walkthrough of the food intolerance collection procedure, Ukfoodintolerance provides clear guidance tailored to its specific testing process.
Key takeaways
Correct hair sample collection requires clean, untreated hair, the right collection site, appropriate quantity, and dry paper packaging to produce valid laboratory results.
| Point | Details |
|---|---|
| Prepare hair properly | Wash with plain shampoo, avoid all products for one to two days, and wait for new growth after chemical treatments. |
| Use the correct site | The posterior crown or nape of the neck provides the most consistent growth rate for reliable analysis. |
| Match method to test type | Cut for mineral and intolerance tests; pull with follicle intact for DNA tests. |
| Package in paper, not plastic | Dry paper envelopes at ambient temperature preserve sample integrity during transit. |
| Send promptly and label clearly | Delays and missing identification information are the two most avoidable causes of sample rejection. |
Why precision in collection matters more than people expect
People often assume that hair sample collection is a casual process. You snip a few strands, pop them in an envelope, and the laboratory does the rest. In practice, the laboratory can only work with what you send. If the sample is contaminated, too short, chemically treated, or improperly packaged, no amount of analytical sophistication can recover accurate data from it.
What I find most telling is that the most common source of inaccurate mineral analysis results is not a laboratory error. It is the person at home who used dry shampoo the morning of collection without thinking. That single product application can introduce compounds that the laboratory reads as elevated mineral levels, producing a report that suggests a health issue that does not exist.
The good news is that following the correct procedure is genuinely simple once you know it. Wash your hair the night before. Use clean scissors. Cut close to the scalp at the nape. Use a paper envelope. Post it promptly. That is the entire workflow for most tests. The detail only increases when you move into DNA or forensic testing, and in those cases your laboratory will provide specific chain-of-custody instructions.
My practical advice: read your laboratory’s instructions once before you do anything else, then read them again after you have collected the sample to confirm you followed each step. It takes two minutes and eliminates the most common reason for retesting. If you are uncertain about any step, contact the laboratory directly. A brief question before collection is far less frustrating than a rejected sample three days later.
— Rob
Ready to test? Ukfoodintolerance makes it simple

Ukfoodintolerance provides at-home hair sample testing that analyses over 1,100 food and environmental items using bioresonance technology, with results delivered digitally within 48 to 72 hours. The collection process is non-invasive, requires only a small pinch of hair, and comes with clear step-by-step instructions so you know exactly what to do. If you have been experiencing unexplained digestive symptoms, skin reactions, or low energy and want clear, fast answers, explore the full range of intolerance testing kits available. You can also browse all available tests to find the option that fits your needs and budget.
FAQ
What is the best site to collect hair from?
The posterior crown or nape of the neck is the preferred collection site for most tests. This area provides a consistent growth rate, making it the most reliable location for mineral analysis, intolerance testing, and drug screening.
Do I need to pull or cut hair for a DNA test?
DNA tests require hair to be pulled with the follicle attached. You need 25 to 50 hairs with visibly intact roots, as the DNA is located in the follicle, not the hair shaft itself.
How long should I avoid hair products before collecting a sample?
Avoid gels, sprays, oils, and conditioners for one to two days before collection. Residue from these products can contaminate the sample and produce inaccurate mineral or sensitivity readings.
Can I use body hair if I have very short head hair?
Body hair is acceptable for some tests, including drug screening and mineral analysis, but it grows at a different rate to scalp hair. This affects the detection time window for drug tests. Always confirm with your laboratory before substituting body hair.
Why must hair samples be stored in paper envelopes?
Paper envelopes allow the sample to breathe and prevent moisture build-up, which can degrade the hair and promote microbial growth. Plastic bags and foil are not suitable because they trap humidity and can introduce contamination.







Leave a Reply
Want to join the discussion?Feel free to contribute!