
TL;DR:
- Proper home hair sample collection requires clean, dry hair, precise cutting from the posterior crown or nape, and storing the sample in a clean paper envelope. Incorrect procedures, such as using contaminated scissors or plastic packaging, can lead to invalid or delayed results. Following detailed instructions ensures accurate analysis for health, nutritional, or forensic testing.
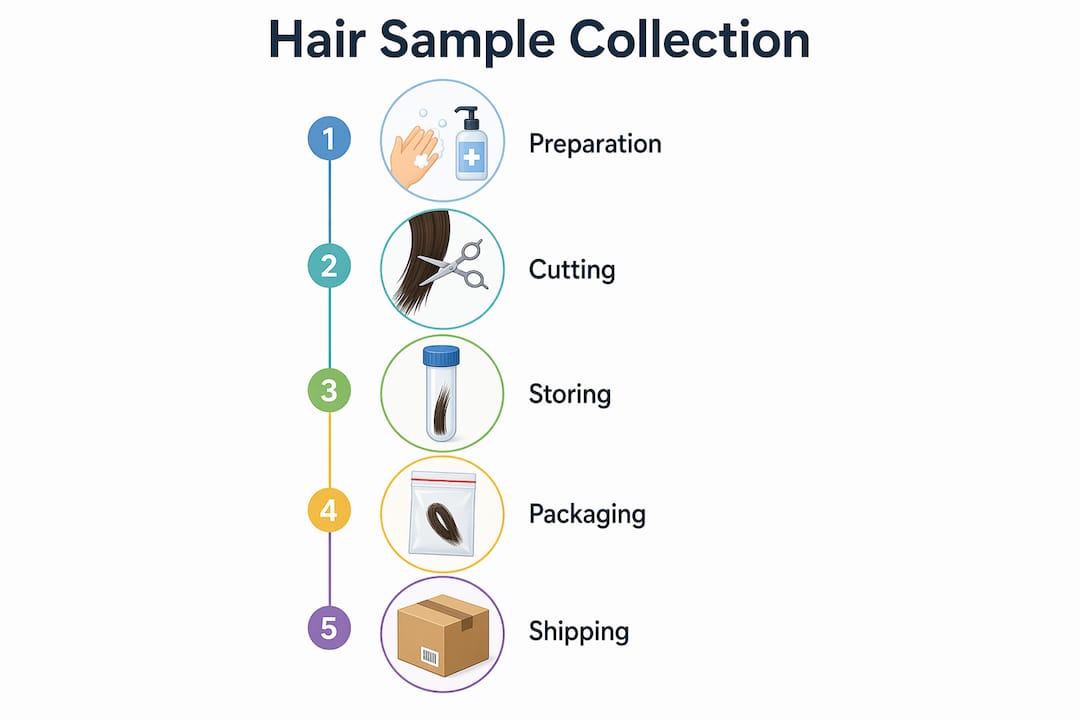
Home hair sample collection is the process of carefully extracting and preserving hair strands from your scalp to enable reliable health, nutritional, or forensic analysis. Done correctly, it takes under ten minutes and produces a sample your laboratory can work with straight away. Done incorrectly, it can mean delayed results, a rejected sample, or misleading data. This guide covers every step: the tools you need, the precise cutting technique, and the packaging rules that protect your sample in transit. Whether you are collecting hair for a food intolerance test, a mineral analysis, or a DNA screen, the principles are the same.
What tools and preparation do you need before collecting a hair sample at home?
Preparation is the step most people skip, and it is the one that causes the most rejected samples. Before you pick up a pair of scissors, you need the right equipment and clean hair.
What you need:
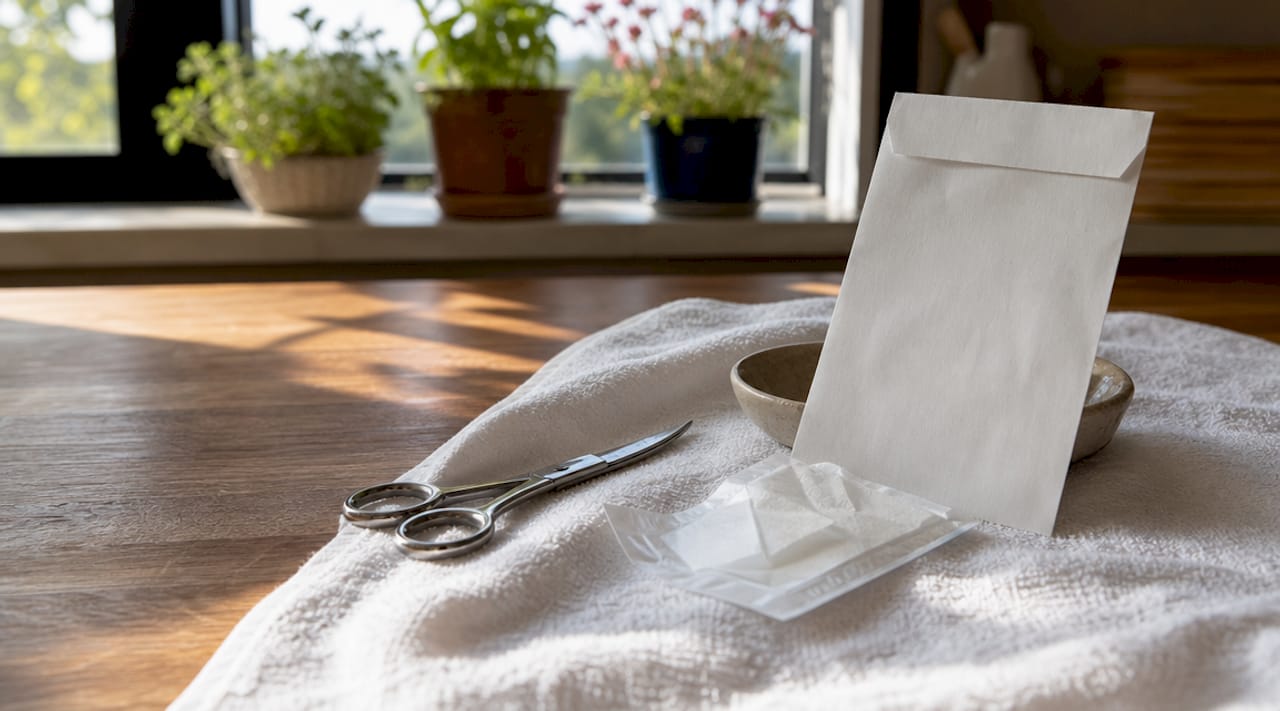
- Clean, sharp scissors (not electric clippers)
- A clean paper envelope for storage and posting
- Alcohol wipes to clean your scissors before use
- A fine-toothed comb to section the hair
- A pen to label the envelope clearly
Hair cleanliness matters more than most people realise. Styling products, conditioner residues, and dry shampoo all leave chemical deposits on the hair shaft. These deposits can interfere with laboratory analysis, particularly mineral profiling. Wash your hair with a plain, non-medicated shampoo and skip the conditioner entirely. The ideal window for cutting is 4 to 24 hours after washing, which gives the hair time to dry naturally without accumulating new product residue.
If you live in an area with a water softener, this is worth paying attention to. Household water softeners can affect mineral analysis results. Washing your hair four times with bottled or distilled water before sampling removes the softener residue that would otherwise skew readings.
Coloured hair adds another layer of consideration. Chemical dyes alter the composition of the hair shaft and can distort certain test results. If your hair is coloured, wait for at least 1 inch of natural regrowth before collecting your sample. You will then cut from that natural section only.
Pro Tip: Clean your scissors with an alcohol wipe and allow them to dry fully before cutting. Residual lubricant or surface bacteria on the blades can transfer to the sample and compromise results.
Step-by-step: how to take a hair sample effectively
Once your hair is clean and your tools are ready, the collection itself is straightforward. Follow these steps in order.
-
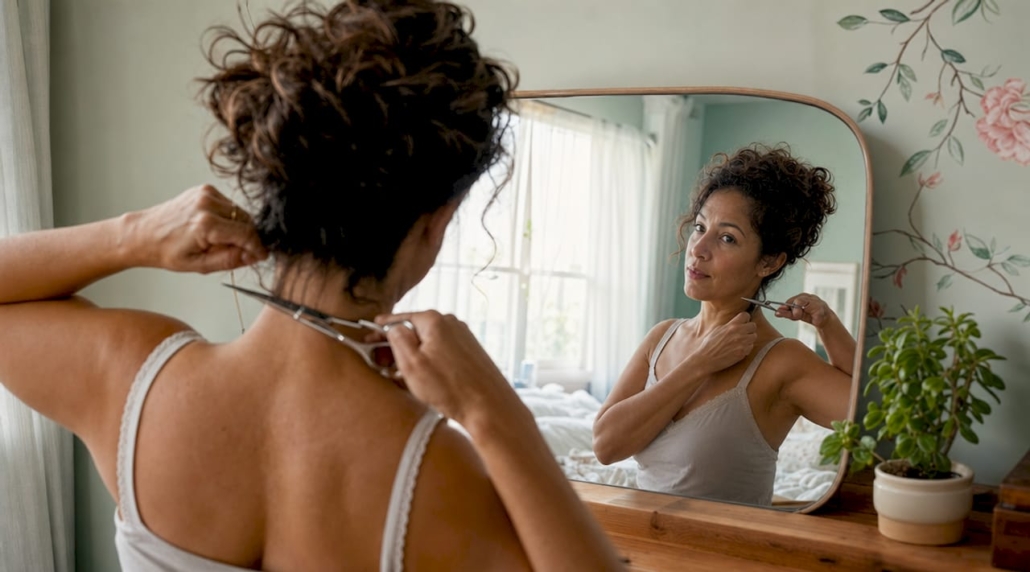
Choose the right location. Collect from the posterior crown (the back of the top of your head) or the nape of the neck. The nape of the neck is particularly useful because it is less noticeable after cutting and tends to have consistent growth patterns. Avoid the front hairline or temples.
-
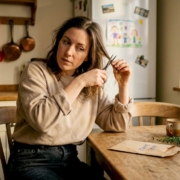
Section the hair. Use a comb to separate a small section of hair close to the scalp. Twist the section gently between your fingers to hold it firm. This keeps the strands aligned and makes cutting cleaner.
-
Cut as close to the scalp as possible. Position the scissors right at the root and cut in one clean motion. The scalp end of the hair contains the most recent biological information. Longer ends beyond 3.5 cm should be discarded because they reflect older data and can dilute the accuracy of the analysis.
-
Collect the right quantity. The amount you need depends on the test type. Drug testing requires approximately 100 to 120 strands at around 3.9 cm in length. DNA analysis requires 25 to 50 hairs with clearly visible roots. For food intolerance and mineral testing through services like Ukfoodintolerance, follow the specific quantity stated in your kit instructions, as requirements vary by test type.
-
Combine sections if needed. If you cannot gather enough strands from one spot, take small amounts from several areas across the posterior crown. Multiple small cuts from several areas produce a more representative sample than a single thick chunk from one location.
-
Trim to the correct length. Keep only the 3.5 to 3.9 cm nearest the scalp. Discard the rest. Use clean scissors for this trim as well.
-
Do not use electric clippers. Electric clippers are lubricated with mineral oil, which transfers directly onto the hair shaft during cutting. This contamination can produce false readings in mineral profile tests.
Pro Tip: If your hair is very short and you are struggling to gather enough strands, ask a friend or family member to help. A second pair of hands makes it much easier to section, hold, and cut cleanly near the scalp.
How to store and package your hair sample correctly
Cutting the sample correctly is only half the job. How you store and package it determines whether the laboratory can use it.
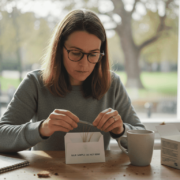
The single most important rule is to use a clean, dry paper envelope. Plastic bags trap moisture and create conditions for mould growth, which destroys the sample. Foil and adhesive tape introduce chemical residues that interfere with analysis. Paper allows the hair to breathe while keeping it contained and protected.
Packaging checklist:
- Place the hair flat inside a clean paper envelope, not folded or bunched
- Label the envelope clearly with your full name, date of collection, and any reference number provided by the testing service
- Do not use staples or sticky tape to seal the envelope, as adhesive residue can contaminate the sample
- Keep the sealed envelope away from direct sunlight, heat sources, and damp environments before posting
A clean paper envelope is the only recommended storage method for hair samples. Plastic, foil, and tape all introduce contamination risks that can invalidate your results before the sample even reaches the laboratory.
Send your sample promptly after collection. Prolonged storage at home increases the risk of environmental damage, particularly from humidity. If you are using a Ukfoodintolerance home test kit, the prepaid envelope and labelling instructions are included, which removes any guesswork from this stage. You can read more about why hair samples matter for intolerance testing if you want to understand what the laboratory is looking for.
What mistakes should you avoid when collecting hair samples at home?
Even careful people make avoidable errors. These are the most common ones, and how to fix them.
- Using contaminated scissors. Scissors used for general household tasks carry residues from previous use. Always wipe blades with an alcohol wipe before cutting.
- Collecting hair without roots when DNA testing is needed. Roots contain the follicle cells required for DNA extraction. If your test requires DNA analysis, check that each strand has a visible root bulb at the scalp end before packaging.
- Taking hair from the wrong location. The front hairline and temples are not suitable collection sites. Always use the posterior crown or nape of the neck for consistent, reliable samples.
- Using coloured hair without sufficient natural regrowth. Chemical dye residues alter the hair shaft composition. If you have less than 1 inch of natural growth, wait before collecting.
- Skipping the hair wash or using conditioner. Conditioner coats the hair shaft and leaves residue that affects analysis. Wash with plain shampoo only, and allow the hair to dry fully before cutting.
- Incorrect packaging. Placing the sample in a plastic bag or wrapping it in foil is one of the most common errors. Use only a clean paper envelope.
- Collecting too little hair. An insufficient sample is the most frequent reason for rejected tests. If in doubt, collect slightly more than the minimum quantity stated in your instructions.
Pro Tip: Before sealing your envelope, lay the hair strands flat and check that all of them run in the same direction, with the scalp ends aligned. This makes it easier for the laboratory to identify the correct end for analysis.
Key takeaways
Correct home hair sample collection depends on clean hair, the right cutting technique, and paper envelope storage. Skipping any one of these three steps is the leading cause of rejected or inaccurate samples.
| Point | Details |
|---|---|
| Preparation before cutting | Wash hair with plain shampoo 4 to 24 hours before collection and avoid all styling products. |
| Correct scalp location | Always cut from the posterior crown or nape of the neck for the most reliable sample. |
| Right quantity by test type | Drug tests need 100 to 120 strands; DNA tests need 25 to 50 hairs with visible roots. |
| Discard the longer ends | Keep only the 3.5 to 3.9 cm nearest the scalp and discard the rest. |
| Paper envelope only | Never use plastic bags, foil, or tape. A clean, dry paper envelope protects sample integrity. |
Why the details matter more than you think
I have seen a lot of people go through the process of ordering a hair test, collecting their sample, and then receiving an inconclusive result because of something small. Not something complicated. Something small. A pair of scissors that had not been wiped down. Hair that still had conditioner in it. A sample posted in a plastic sandwich bag because the paper envelope was not to hand.
The frustrating part is that none of these errors are difficult to avoid. They just require you to read the instructions once, properly, before you start. The collection itself takes less time than making a cup of tea. The preparation takes a few minutes more. That is the full investment.
What I would add, beyond the standard guidance, is this: if your laboratory has sent you specific instructions with your kit, those take priority over general advice. Different tests have different requirements. A food intolerance test through Ukfoodintolerance has different parameters to a forensic DNA screen or a heavy metal analysis. The food intolerance collection guidance from Ukfoodintolerance is written specifically for their process, and it is worth reading before you pick up your scissors.
The other thing I would say is that short hair is not a barrier. It just requires more patience and, ideally, a second person to help. Taking small sections from several spots across the posterior crown, as the research supports, gives you a better sample than trying to force a single cut from one area.
Get the preparation right, follow the steps, and use a paper envelope. That is genuinely all it takes.
— Rob
Ready to test? Start with a Ukfoodintolerance home kit
If you have been experiencing unexplained digestive symptoms, skin reactions, or persistent fatigue, a hair sample test could give you the clarity you need. Ukfoodintolerance offers two straightforward home test kits that use your hair sample to screen for sensitivities across hundreds of food and environmental items. The Ultimate Single Intolerance Test covers over 1,100 items; the Core Single Intolerance Test covers 500. Both include clear collection instructions, a prepaid return envelope, and a detailed digital report delivered within 48 to 72 hours. No clinic visit, no blood draw, and no complicated process. You collect the sample at home using the steps in this guide, post it, and receive your results. It is that straightforward.
FAQ
How many hairs do I need for a home hair sample?
The quantity depends on the test type. Drug testing requires 100 to 120 strands, while DNA testing needs 25 to 50 hairs with visible roots. Always check the specific instructions provided with your test kit.
Can I collect a hair sample if my hair is coloured?
Yes, but only from natural regrowth. Wait until you have at least 1 inch of uncoloured growth before cutting, as chemical dye residues can distort test results.
Why can I not use a plastic bag to store my hair sample?
Plastic traps moisture, which encourages mould growth and degrades the sample before it reaches the laboratory. A clean paper envelope is the only recommended storage method.
Where on the scalp should I cut the hair from?
Cut from the posterior crown or the nape of the neck. These areas provide consistent growth patterns and are the standard collection sites for most laboratory tests. Avoid the front hairline and temples.
Does it matter how long the hair strands are?
Yes. Keep only the 3.5 to 3.9 cm of hair nearest the scalp and discard the longer ends. The scalp end holds the most recent biological data, which is what the laboratory analyses.





Leave a Reply
Want to join the discussion?Feel free to contribute!